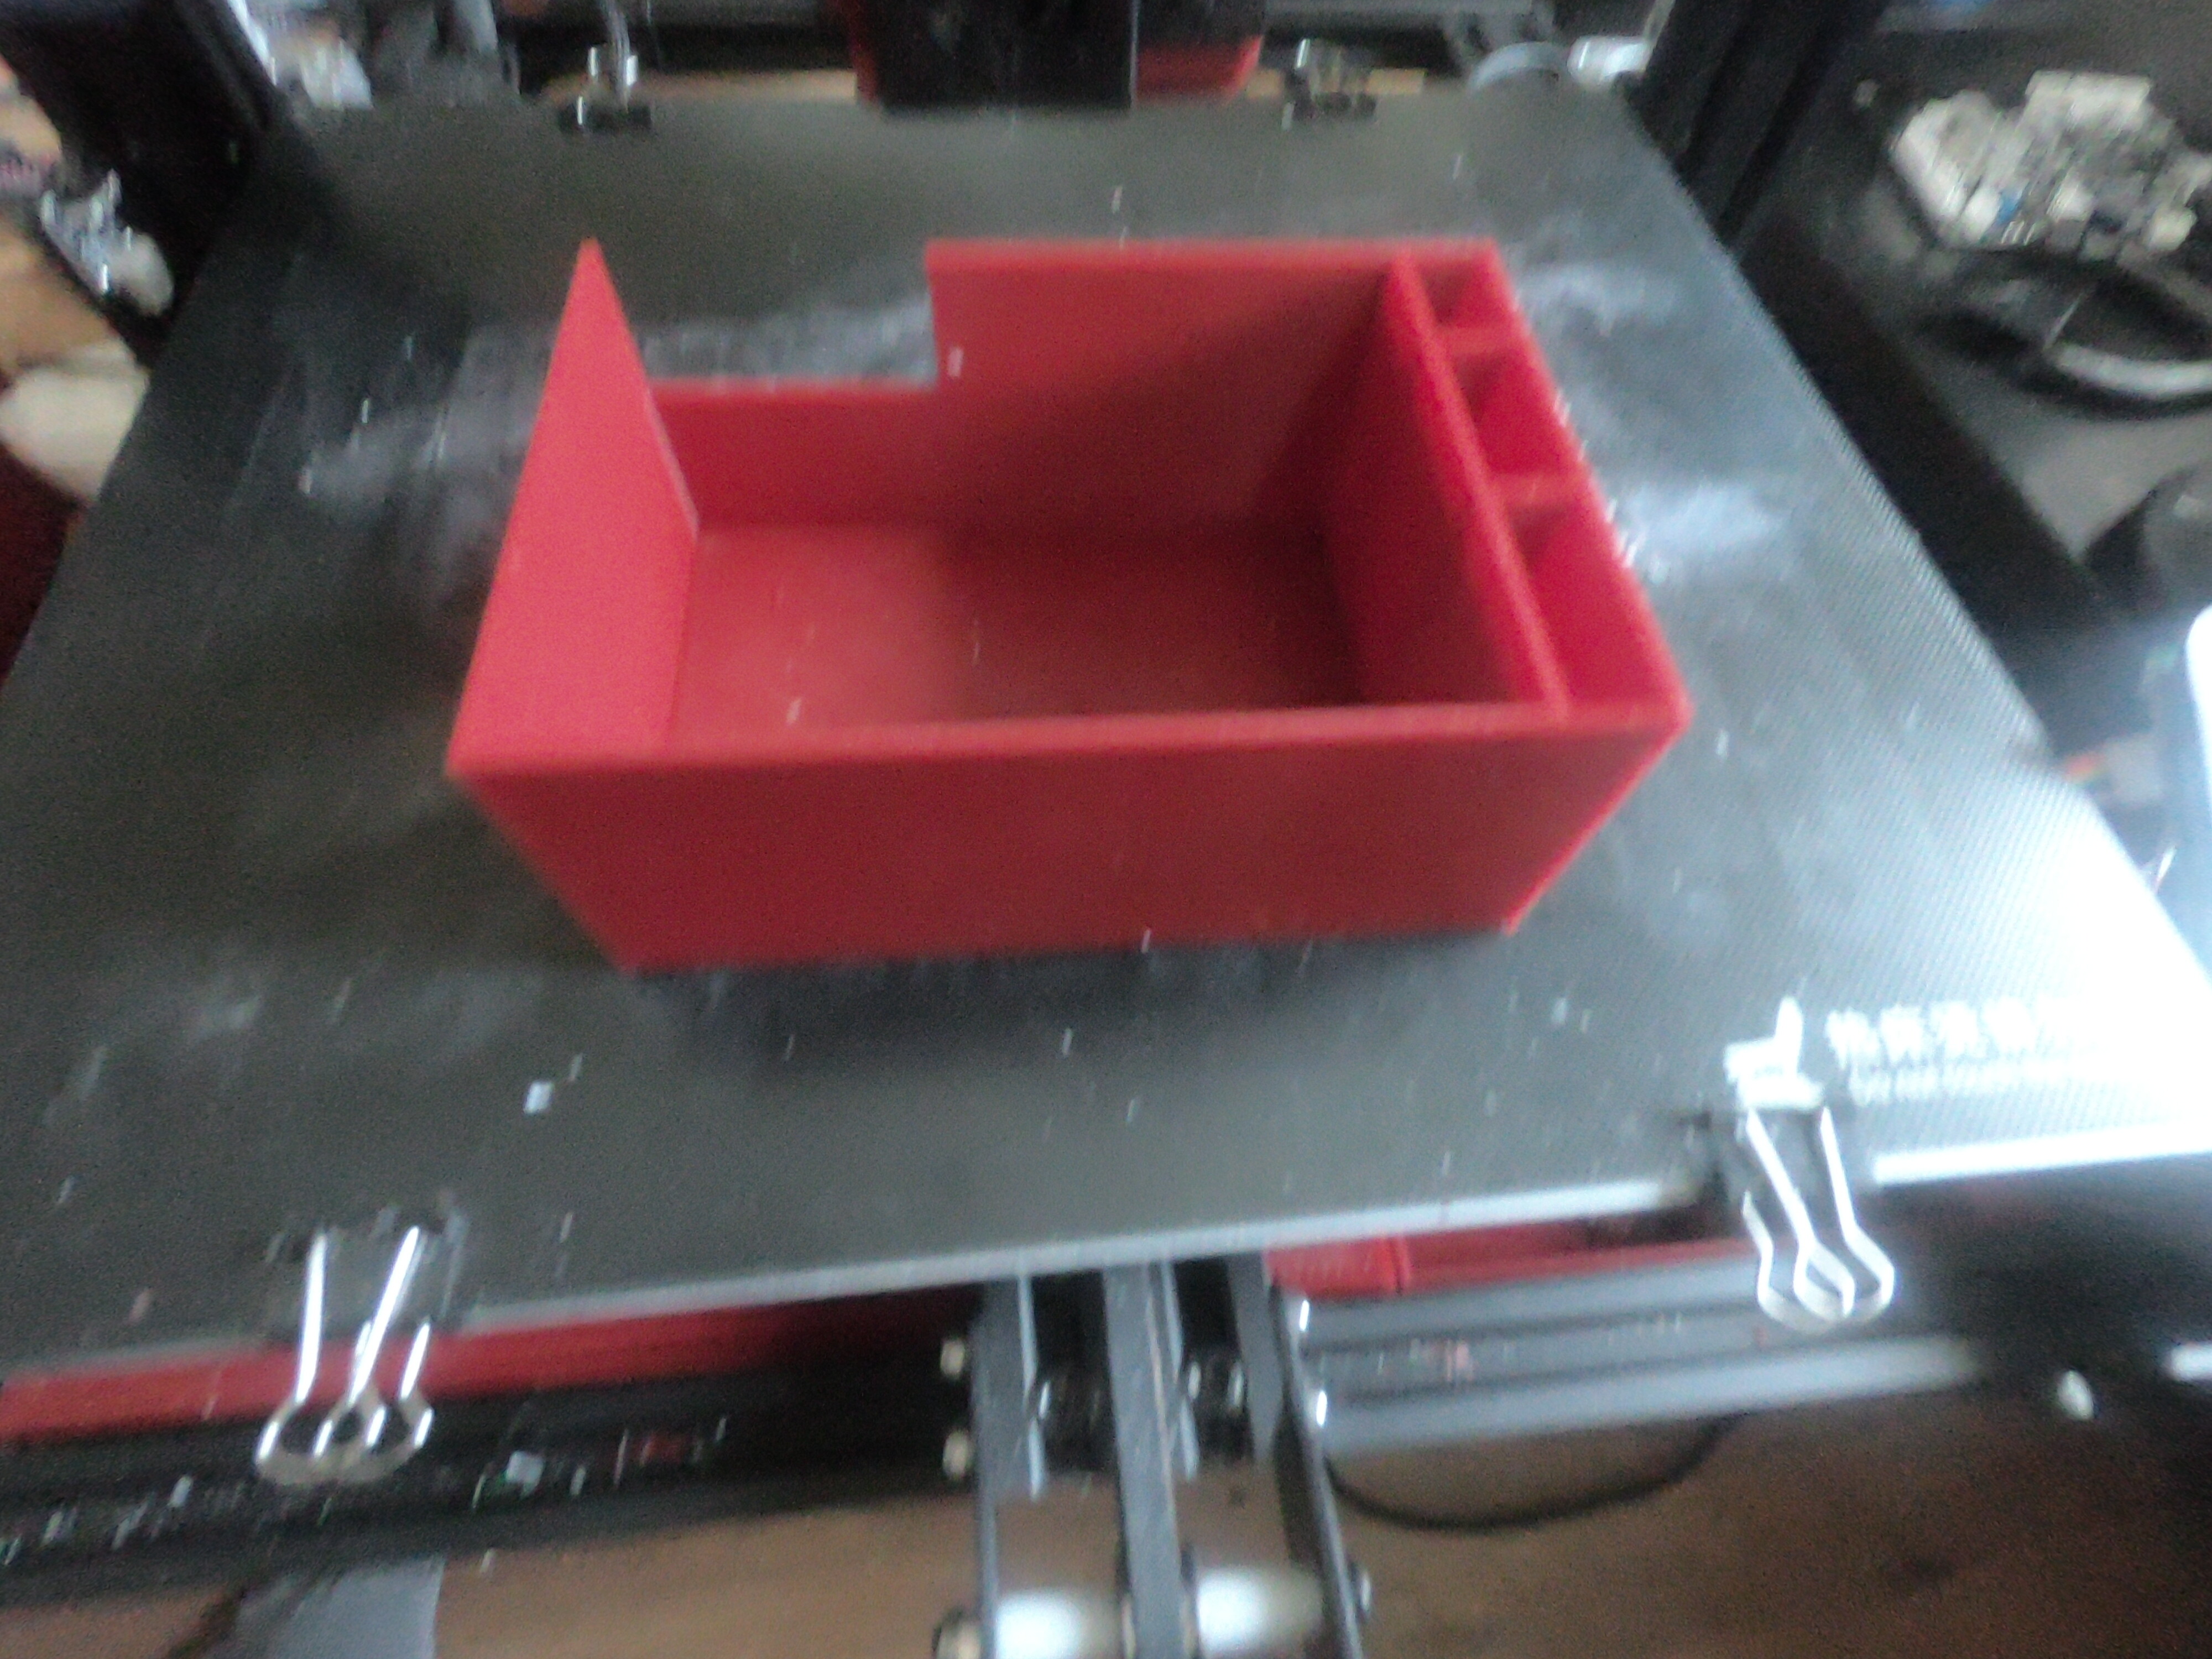
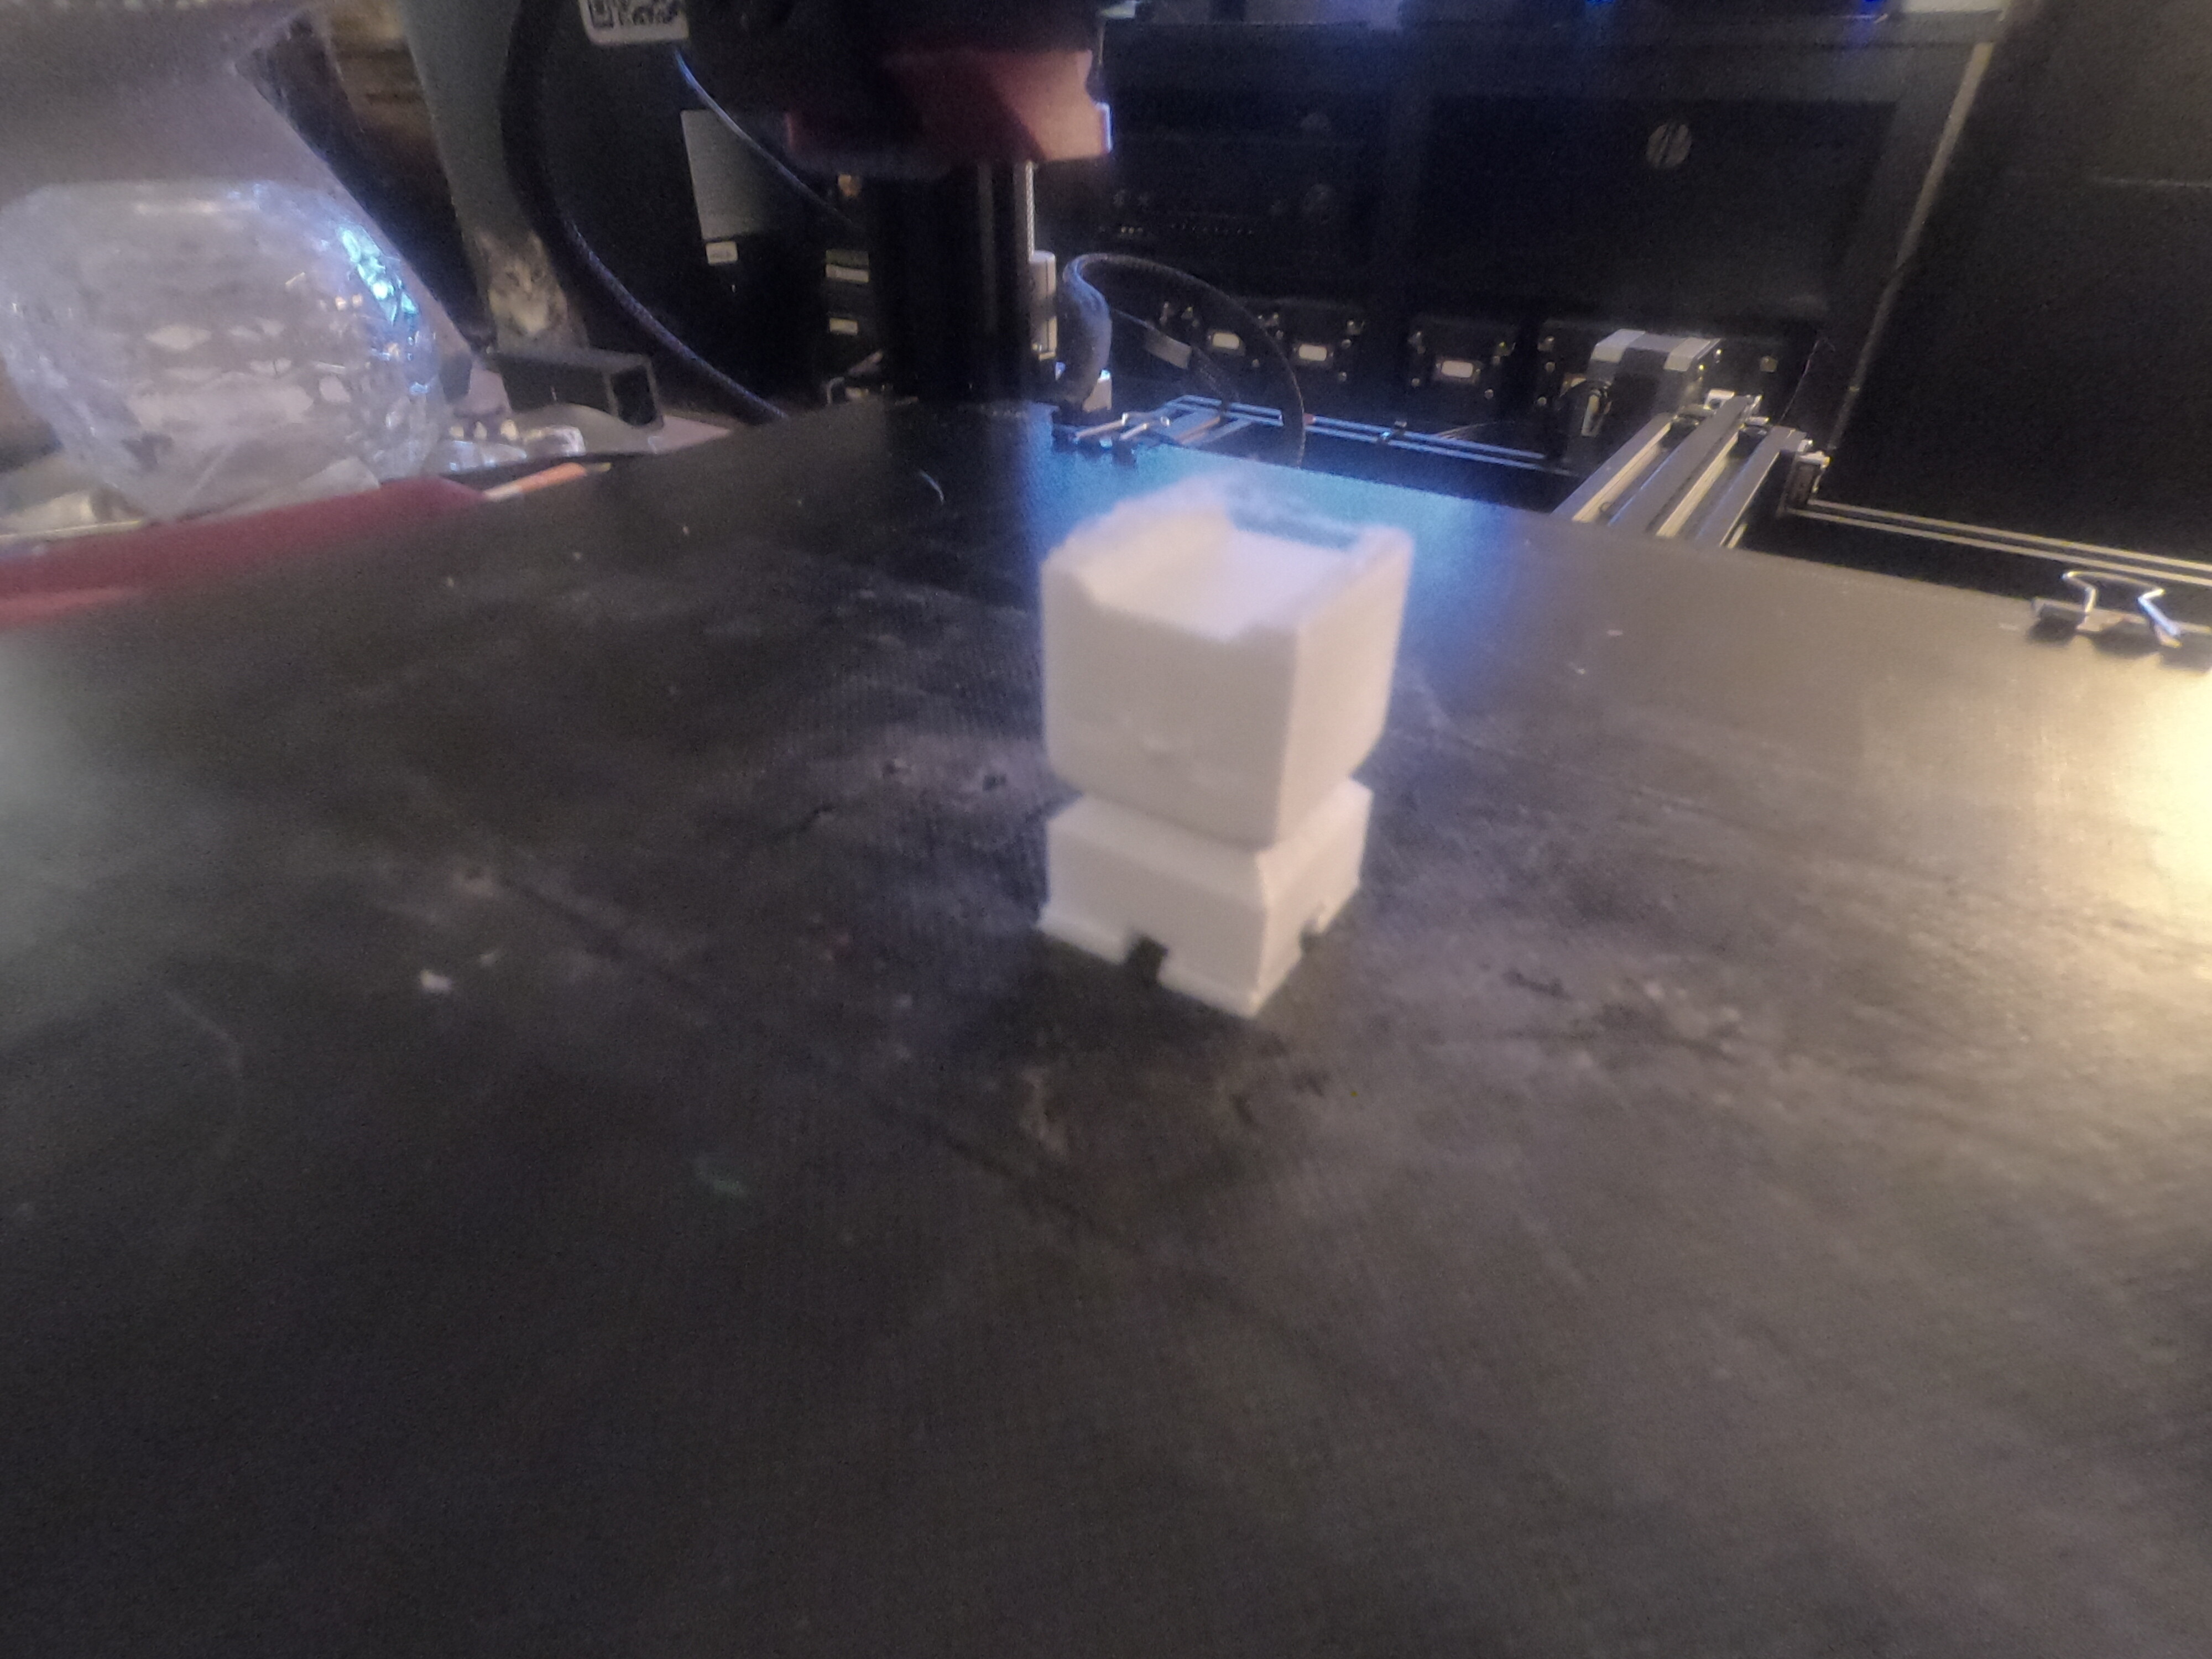
I went from printing this, which printed near perfect. [ATTACH=JSON]{“data-align”:“none”,“data-size”:“small”,“data-attachmentid”:4104}[/ATTACH]
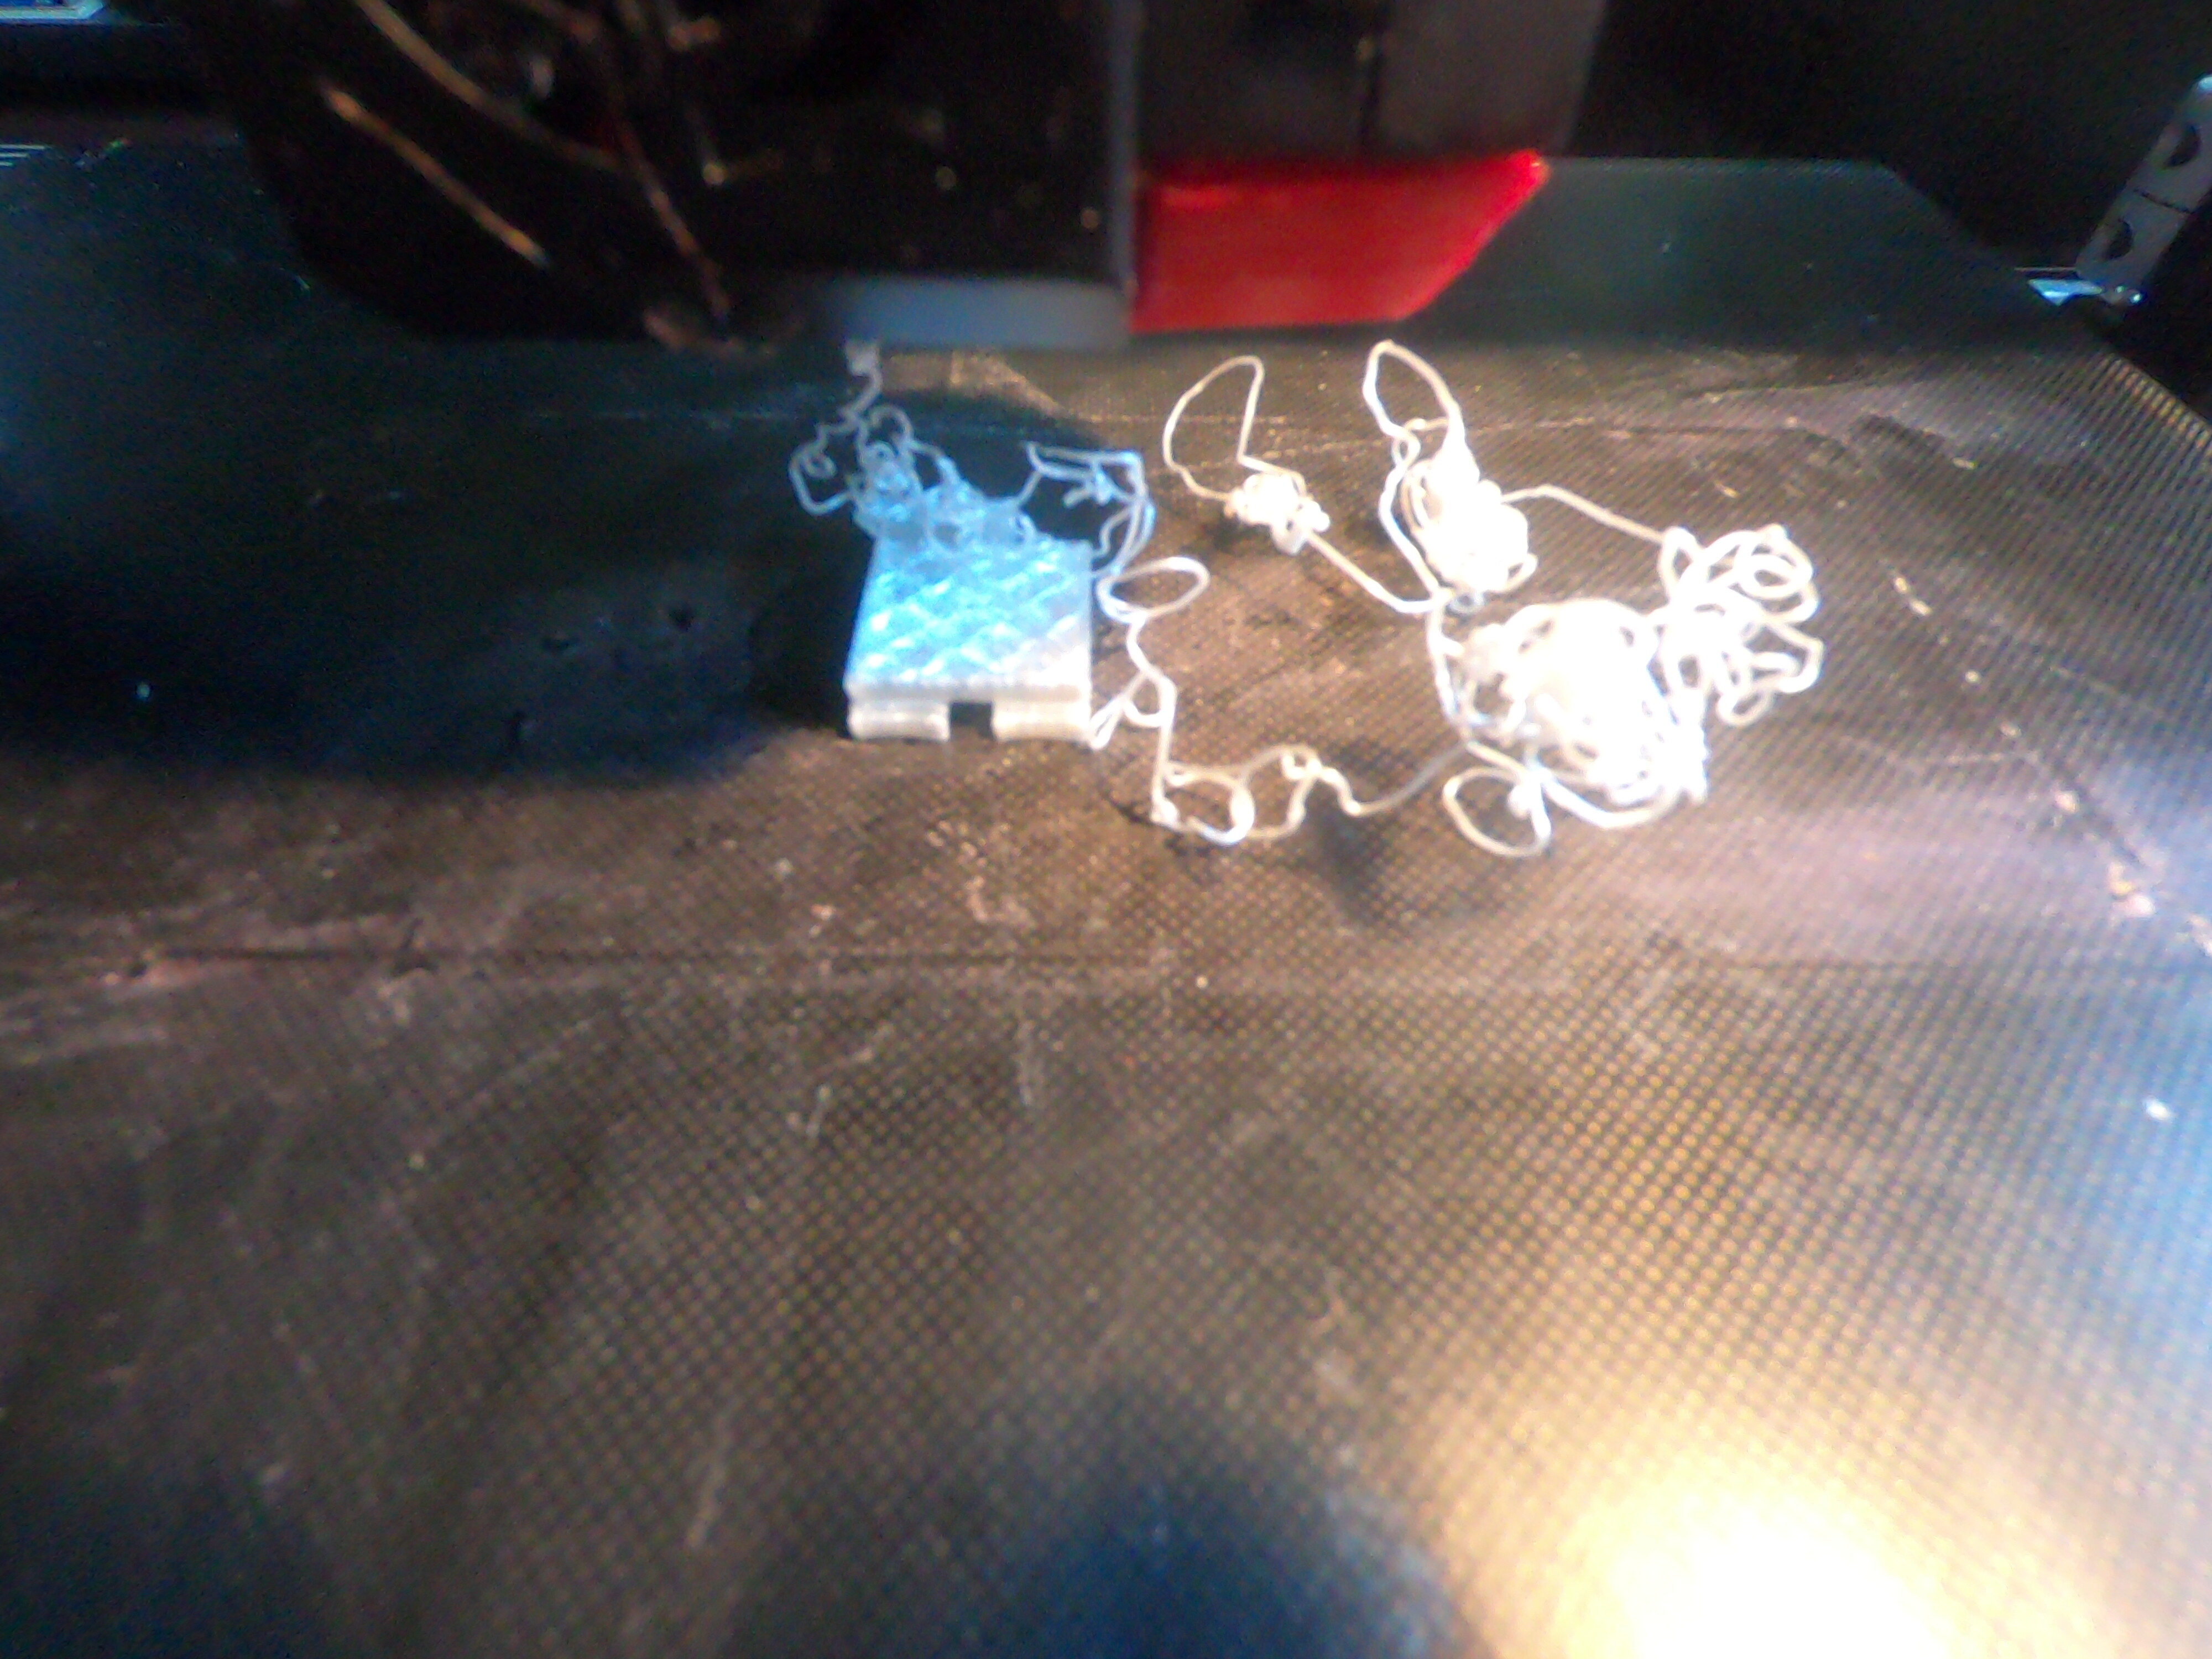
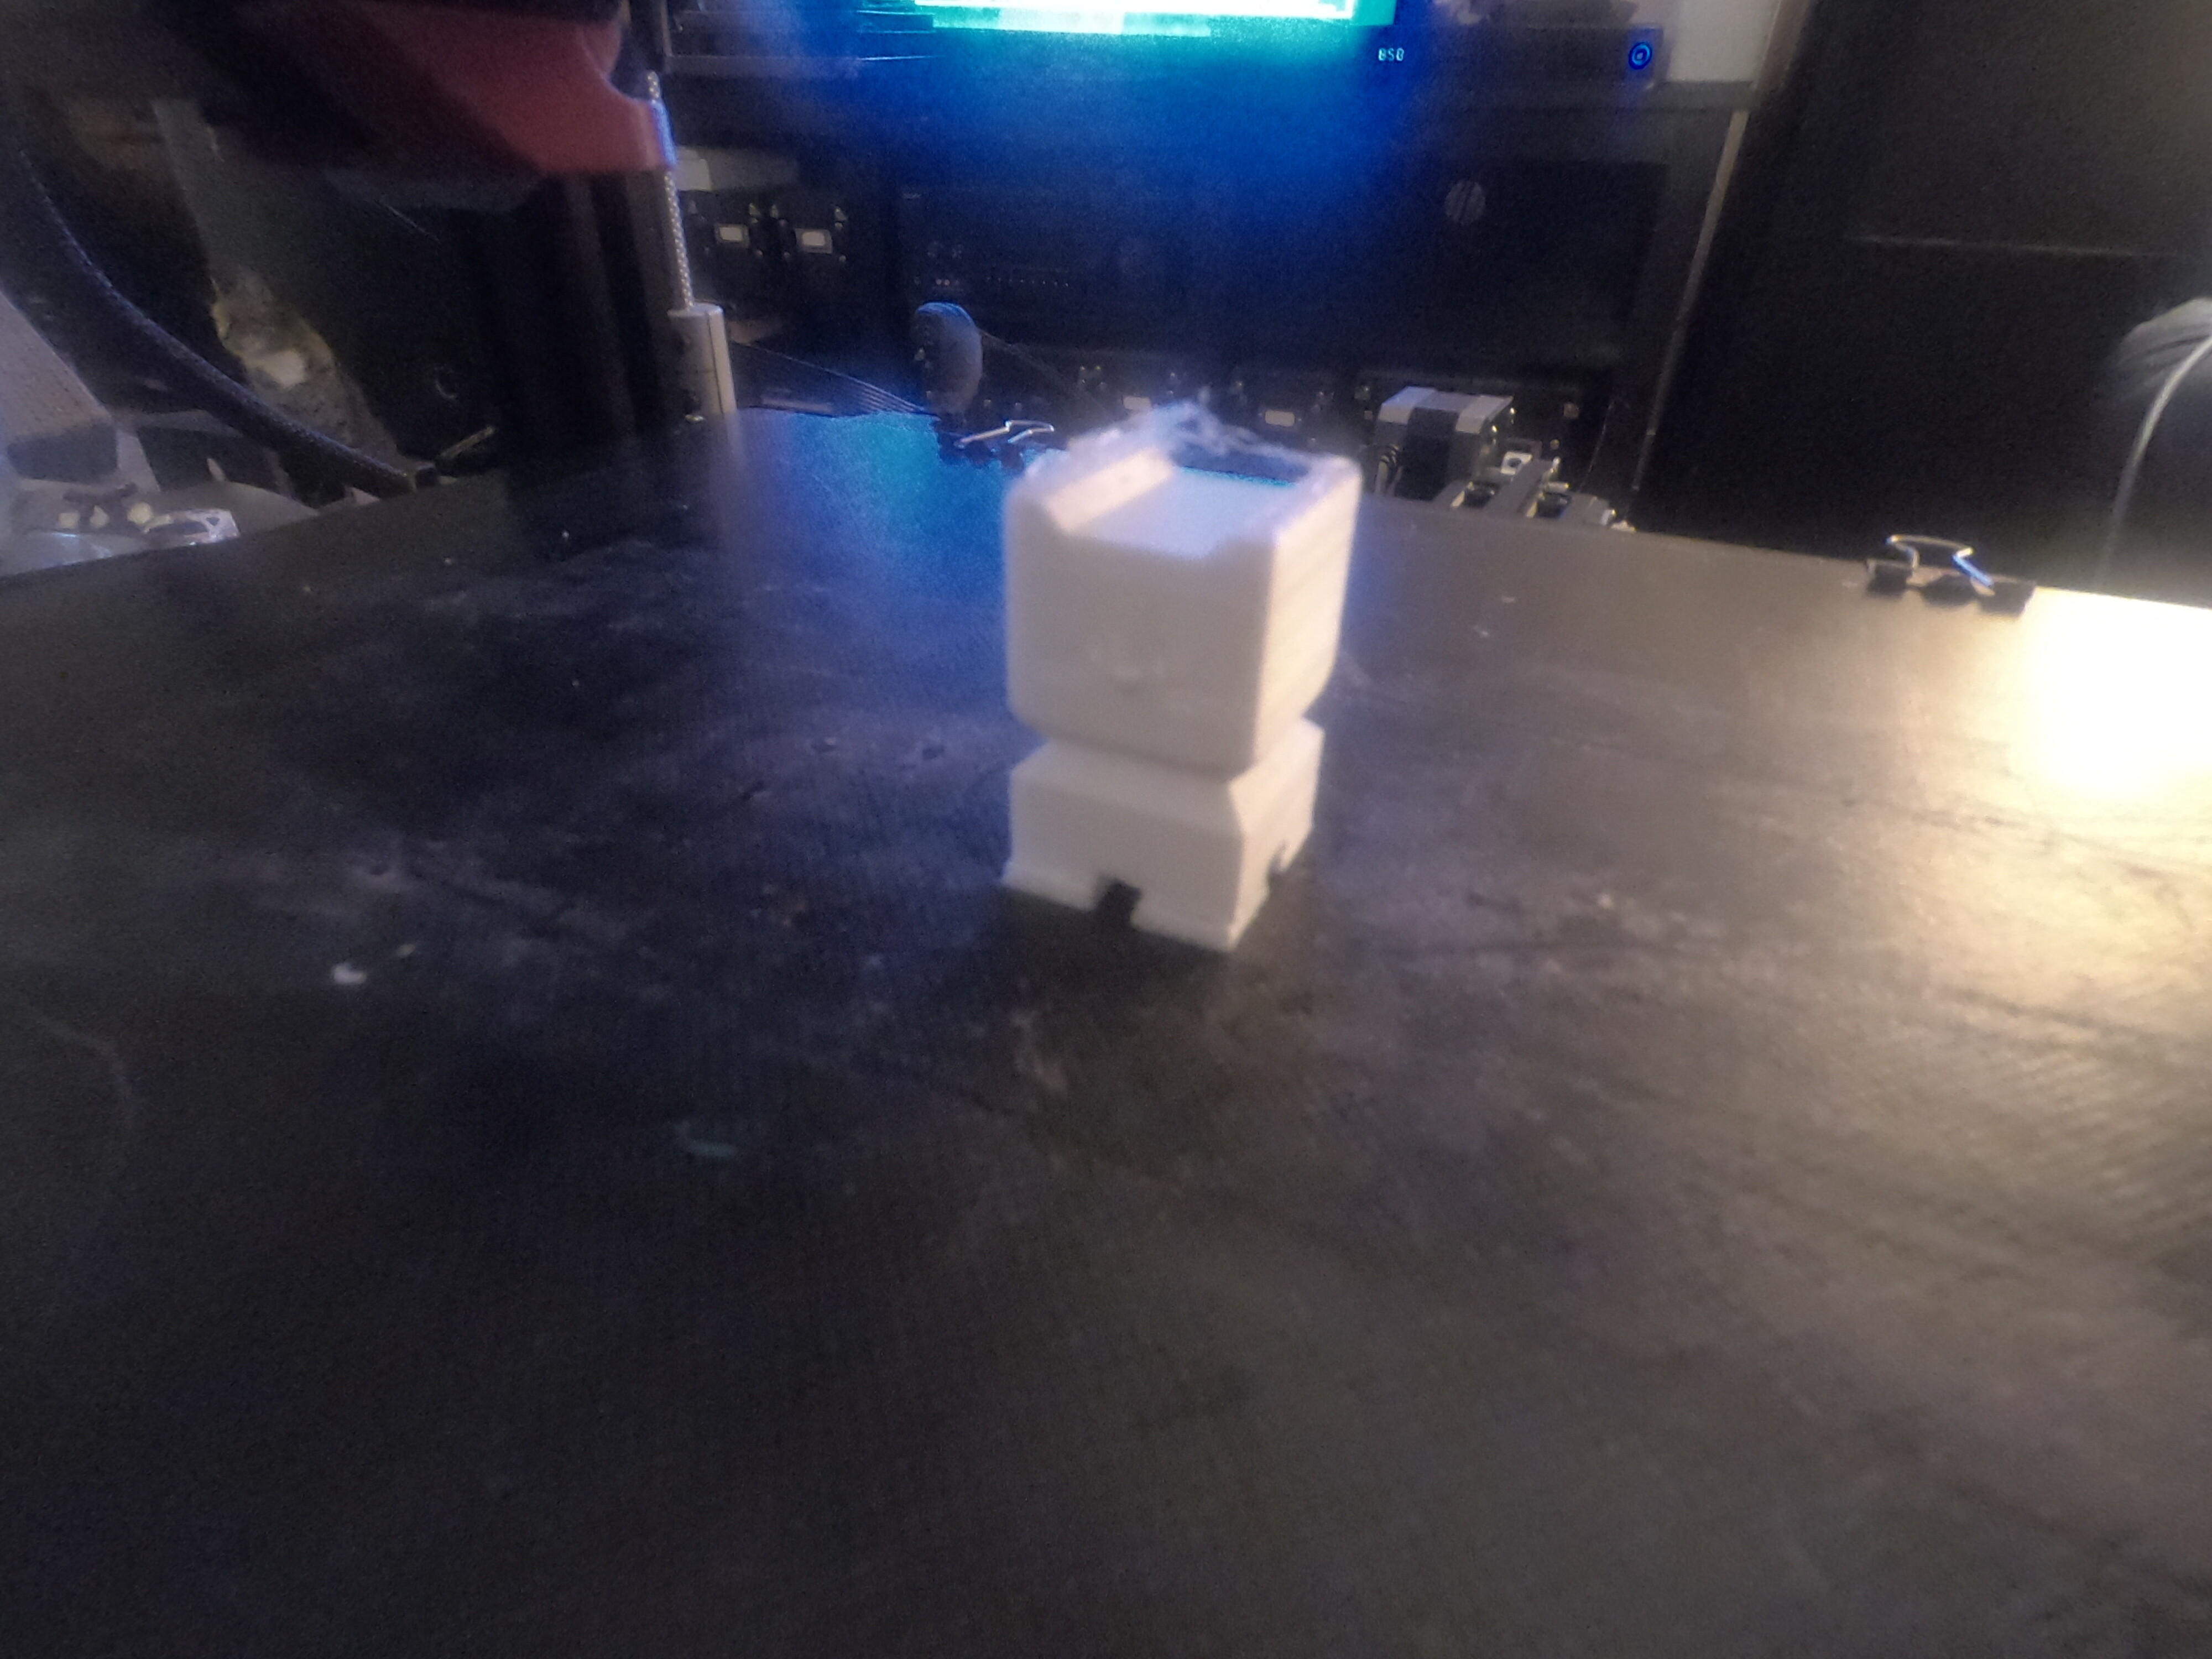
To this. [ATTACH=JSON]{“data-align”:“none”,“data-size”:“small”,“data-attachmentid”:4105}[/ATTACH] which was supposed to be a calibration cat.
For the record… the bed is level like it should be and the extruder is extruding exactly 100mm when tested. Bed temp. is 60C and nozzle temp is 210C printing eSUN PLA +. Retraction is set at 6.5mm and retraction speed is 40mm.
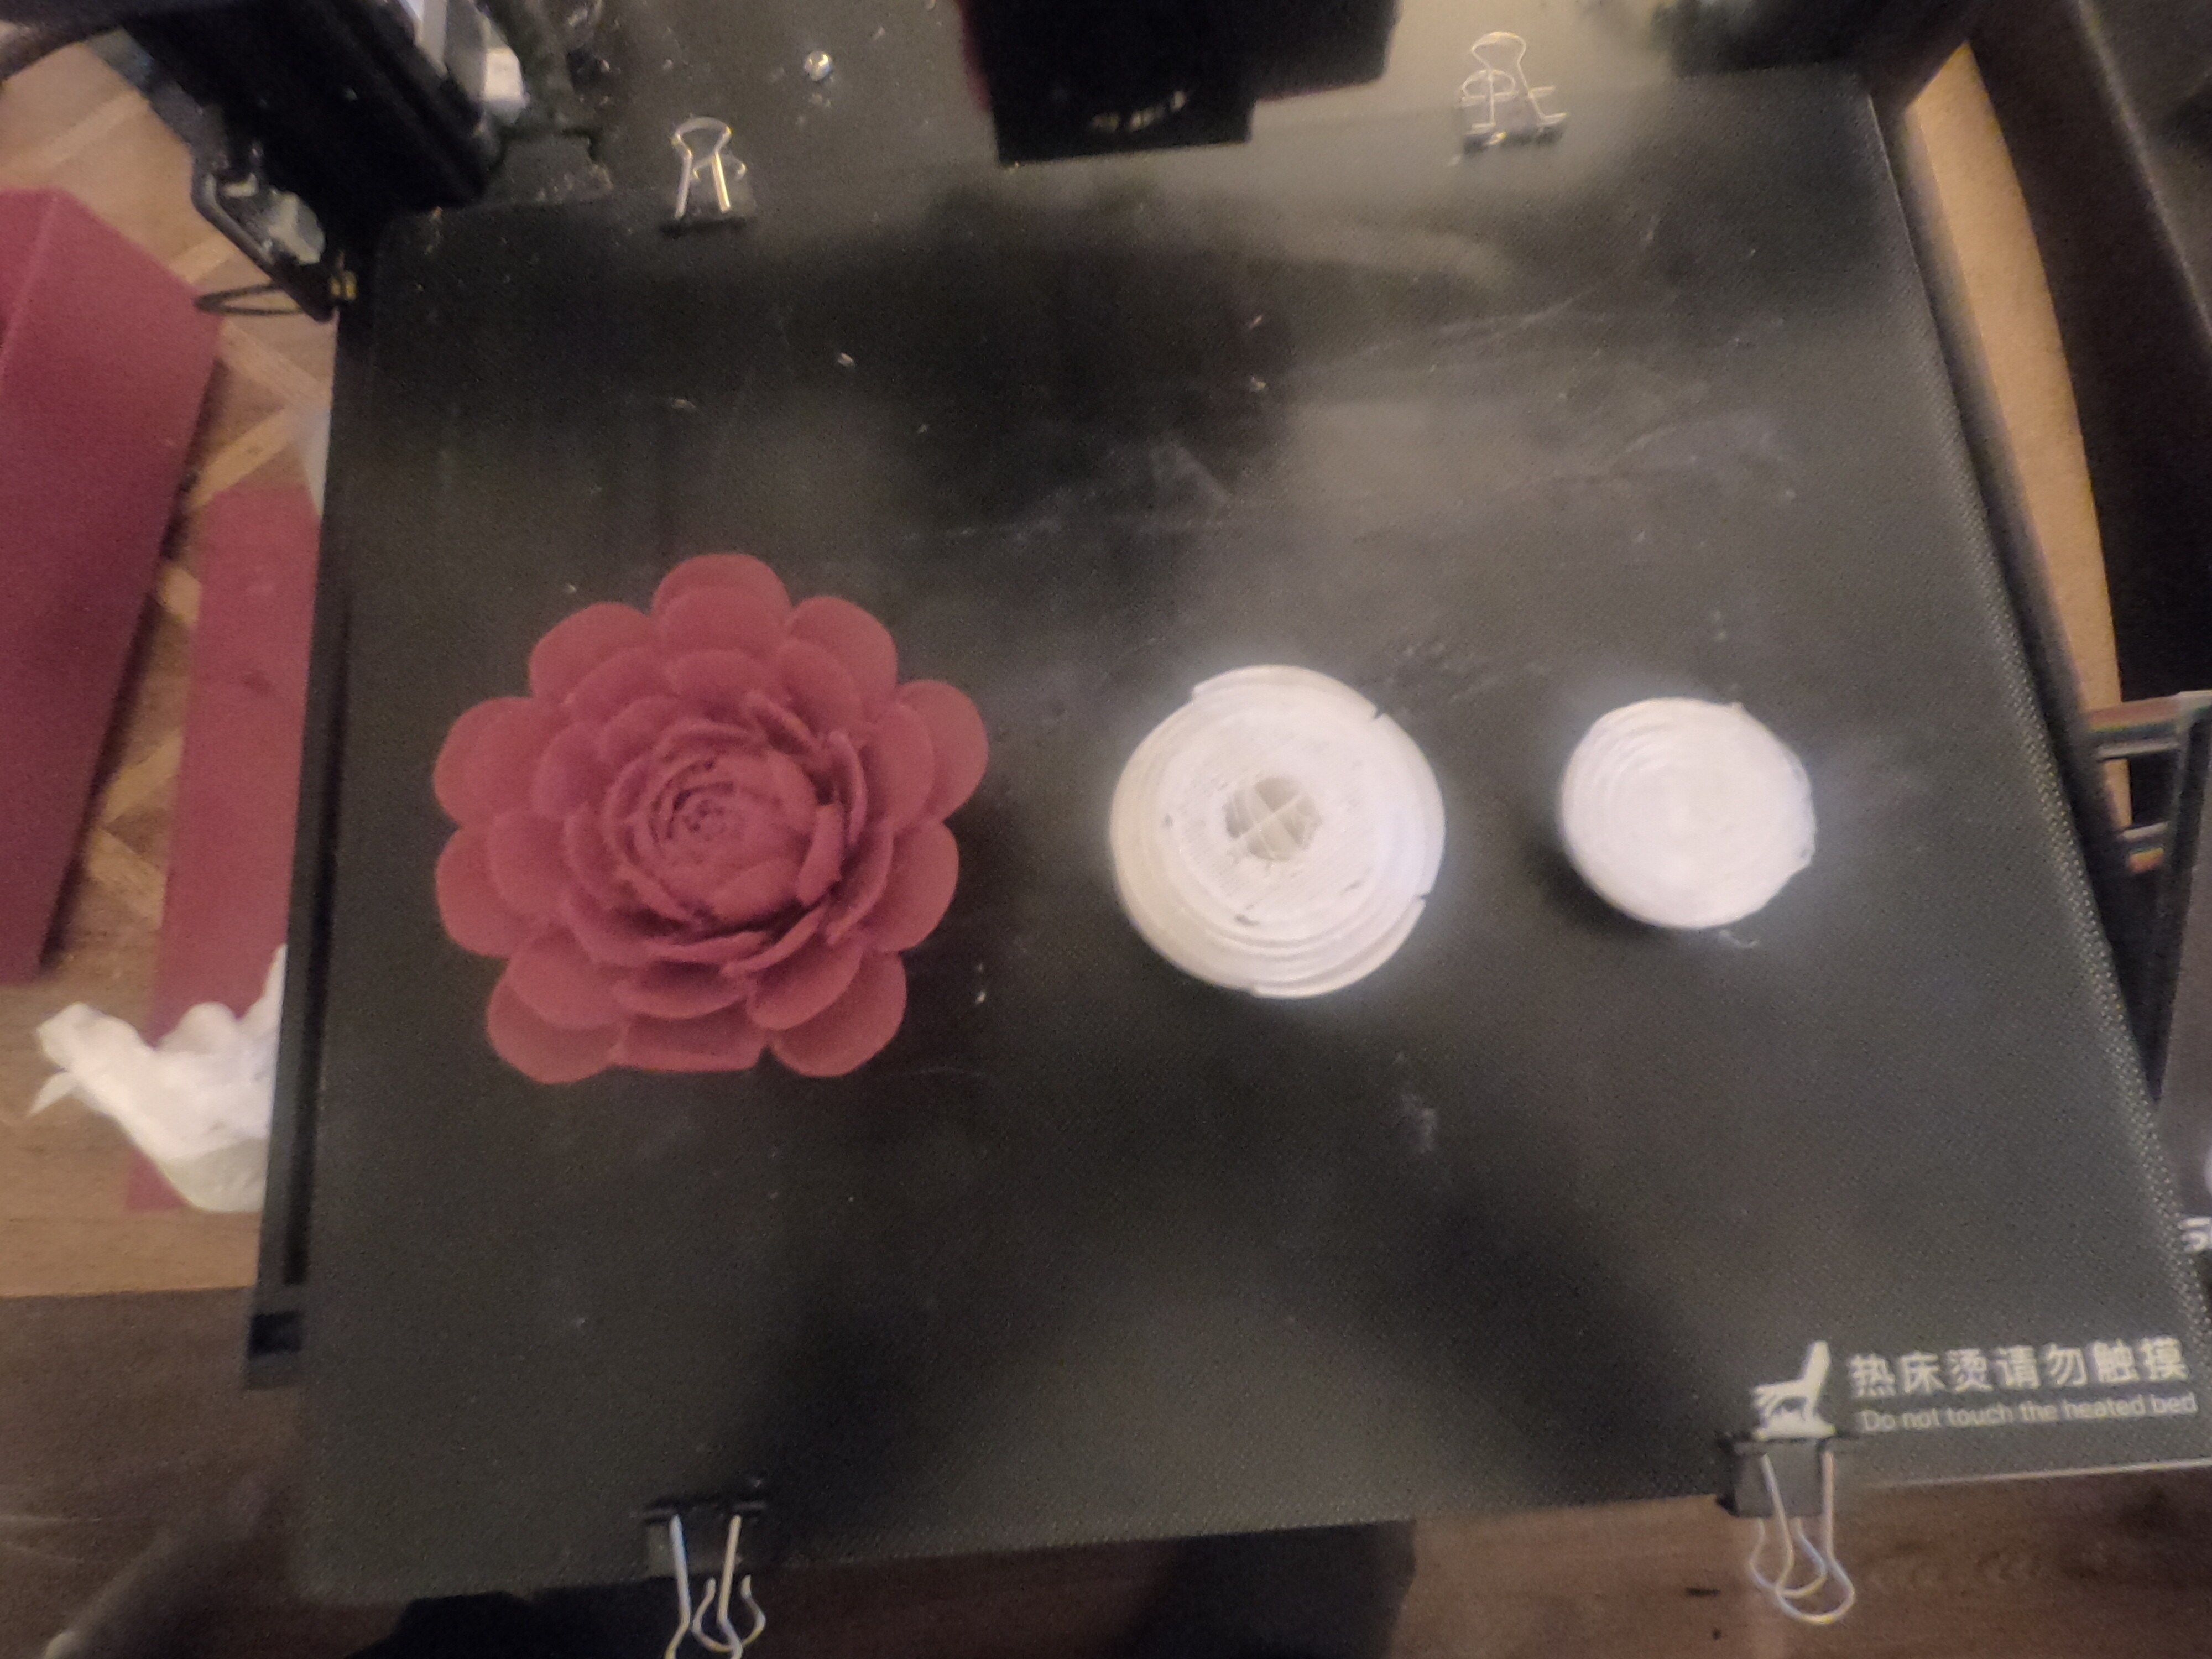
Between the 2 photos, I tried to print a rose flower. The bottom 1/4th seemed to print fine, but the higher the Z level, the more stringing between petals until the top of the rose was just a stringing mess.
If you use Pronterface on a computer to connect to your printer via USB, you could: [LIST=1]
measure distance from the bed surface to a fixed point such as a crossbar and note it down;
issue a G1 Z25 command;
measure the distance again & note it down;
issue another G1 Z25;
measure again & note it down;
repeat steps 2 & 3 a few more times, until you've moved the Z axis a couple hundred mm;
compare each measurement you noted and see if the distance is getting larger after each 25mm movement;
if it is, issue an M503 command, it will tell the settings used for all the axes;
there is a formula you can use to calculate what the Z step value should be changed to, but you could also just reduce it a little & test again, until you get the distance correct;
issue am M92 Zxxx to set the new Z step value. Once you have it correct, issue an M500 to save it to EEPROM.
[/LIST] Everyone else, please chime in: does this seem like a reasonable approach?
Sounds impossible for a printer to print nearly perfect and the next print is all of the sudden missing Z steps or jump up steps. First check the mechanical connection between the z motor and the lead screw…
The red rose printed OK except for the fact that the upper 10% was very stringy. I then tried to print the middle (white) rose and printed about 50% before there were adhesion problems. The second white rose printed about 25% before adhesion problems started. Then, I tried to print the calibration cat photographed in the second photo of this post. It appears that the more I try to print, the worse the Z problem gets.
I hope that this may help someone come up with some kind of idea about what has gone wrong.
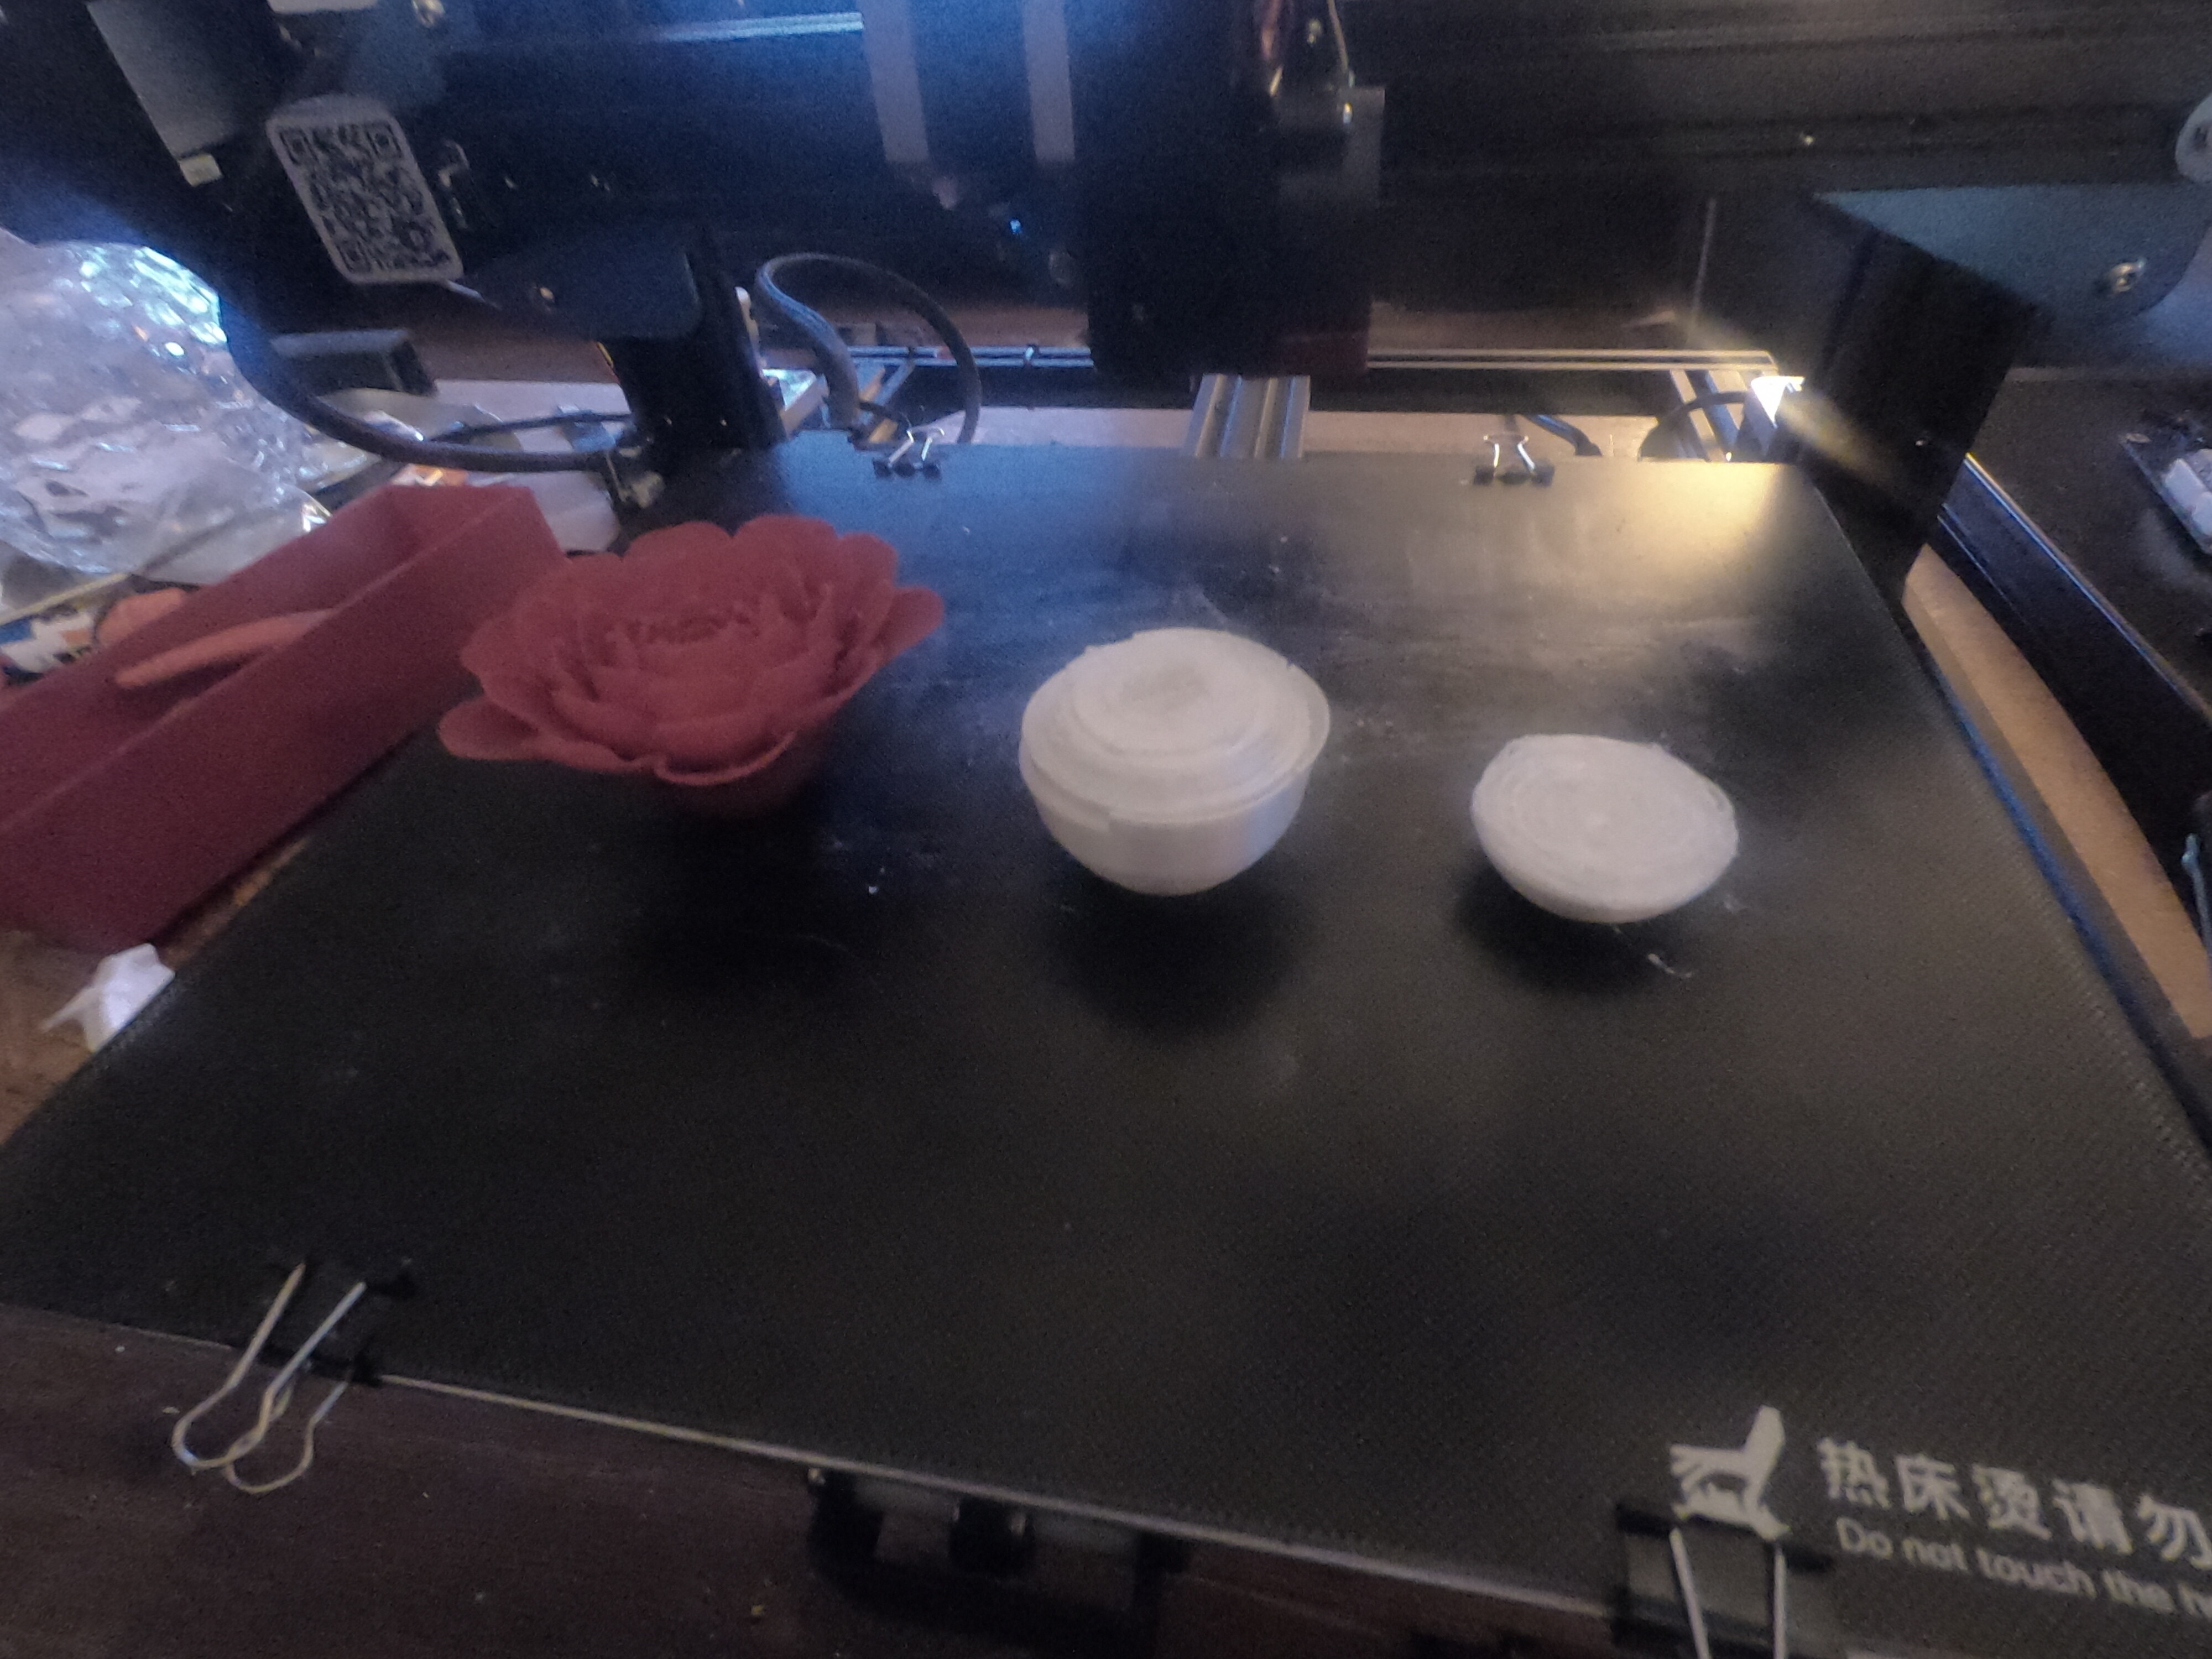
I printed this model at 190C, but changed nothing else. The print is just fine except that the very tips of the cat’s ears are fuzzy. Not a adhesion problem as before, just very small fuzzy strands of plastic. There are no adhesion problems through out the model. No blobs or bumps of plastic anywhere.
I use Cura 4.7.1 for everything. I ran another calibration cat a 185C. That print was a little better, but the very tip of the cat’s ears were still fuzzy Again, the rest of the print was almost perfect.
I would keep lowering, 5C at a time, as far down as 170C. In my own experience, I have never had good, consistent results above 200C. Most types of PLA I’ve used worked best between 175C and 195C. I do sometimes use a bed temp of 70C, but if I’m using Magigoo, which I am almost always these days, I find I don’t need over 60C.
Lower temps are a known way to reduce stringing. There are plenty of YT videos, including from DrVAX, to that effect.
I now have my printer working pretty well. It would appear that the problems I have had were, in fact, Cura settings. I had changed some of the Cura settings according to some suggestions I found on You Tube. I then reset the Cura profile and started to get better prints. So, it looks like I have to really learn how to use Cura better.
I hate to sound stupid, but can someone tell me how to start a new post. I don’t remember how I started this one and I need to start a new post on a new problem