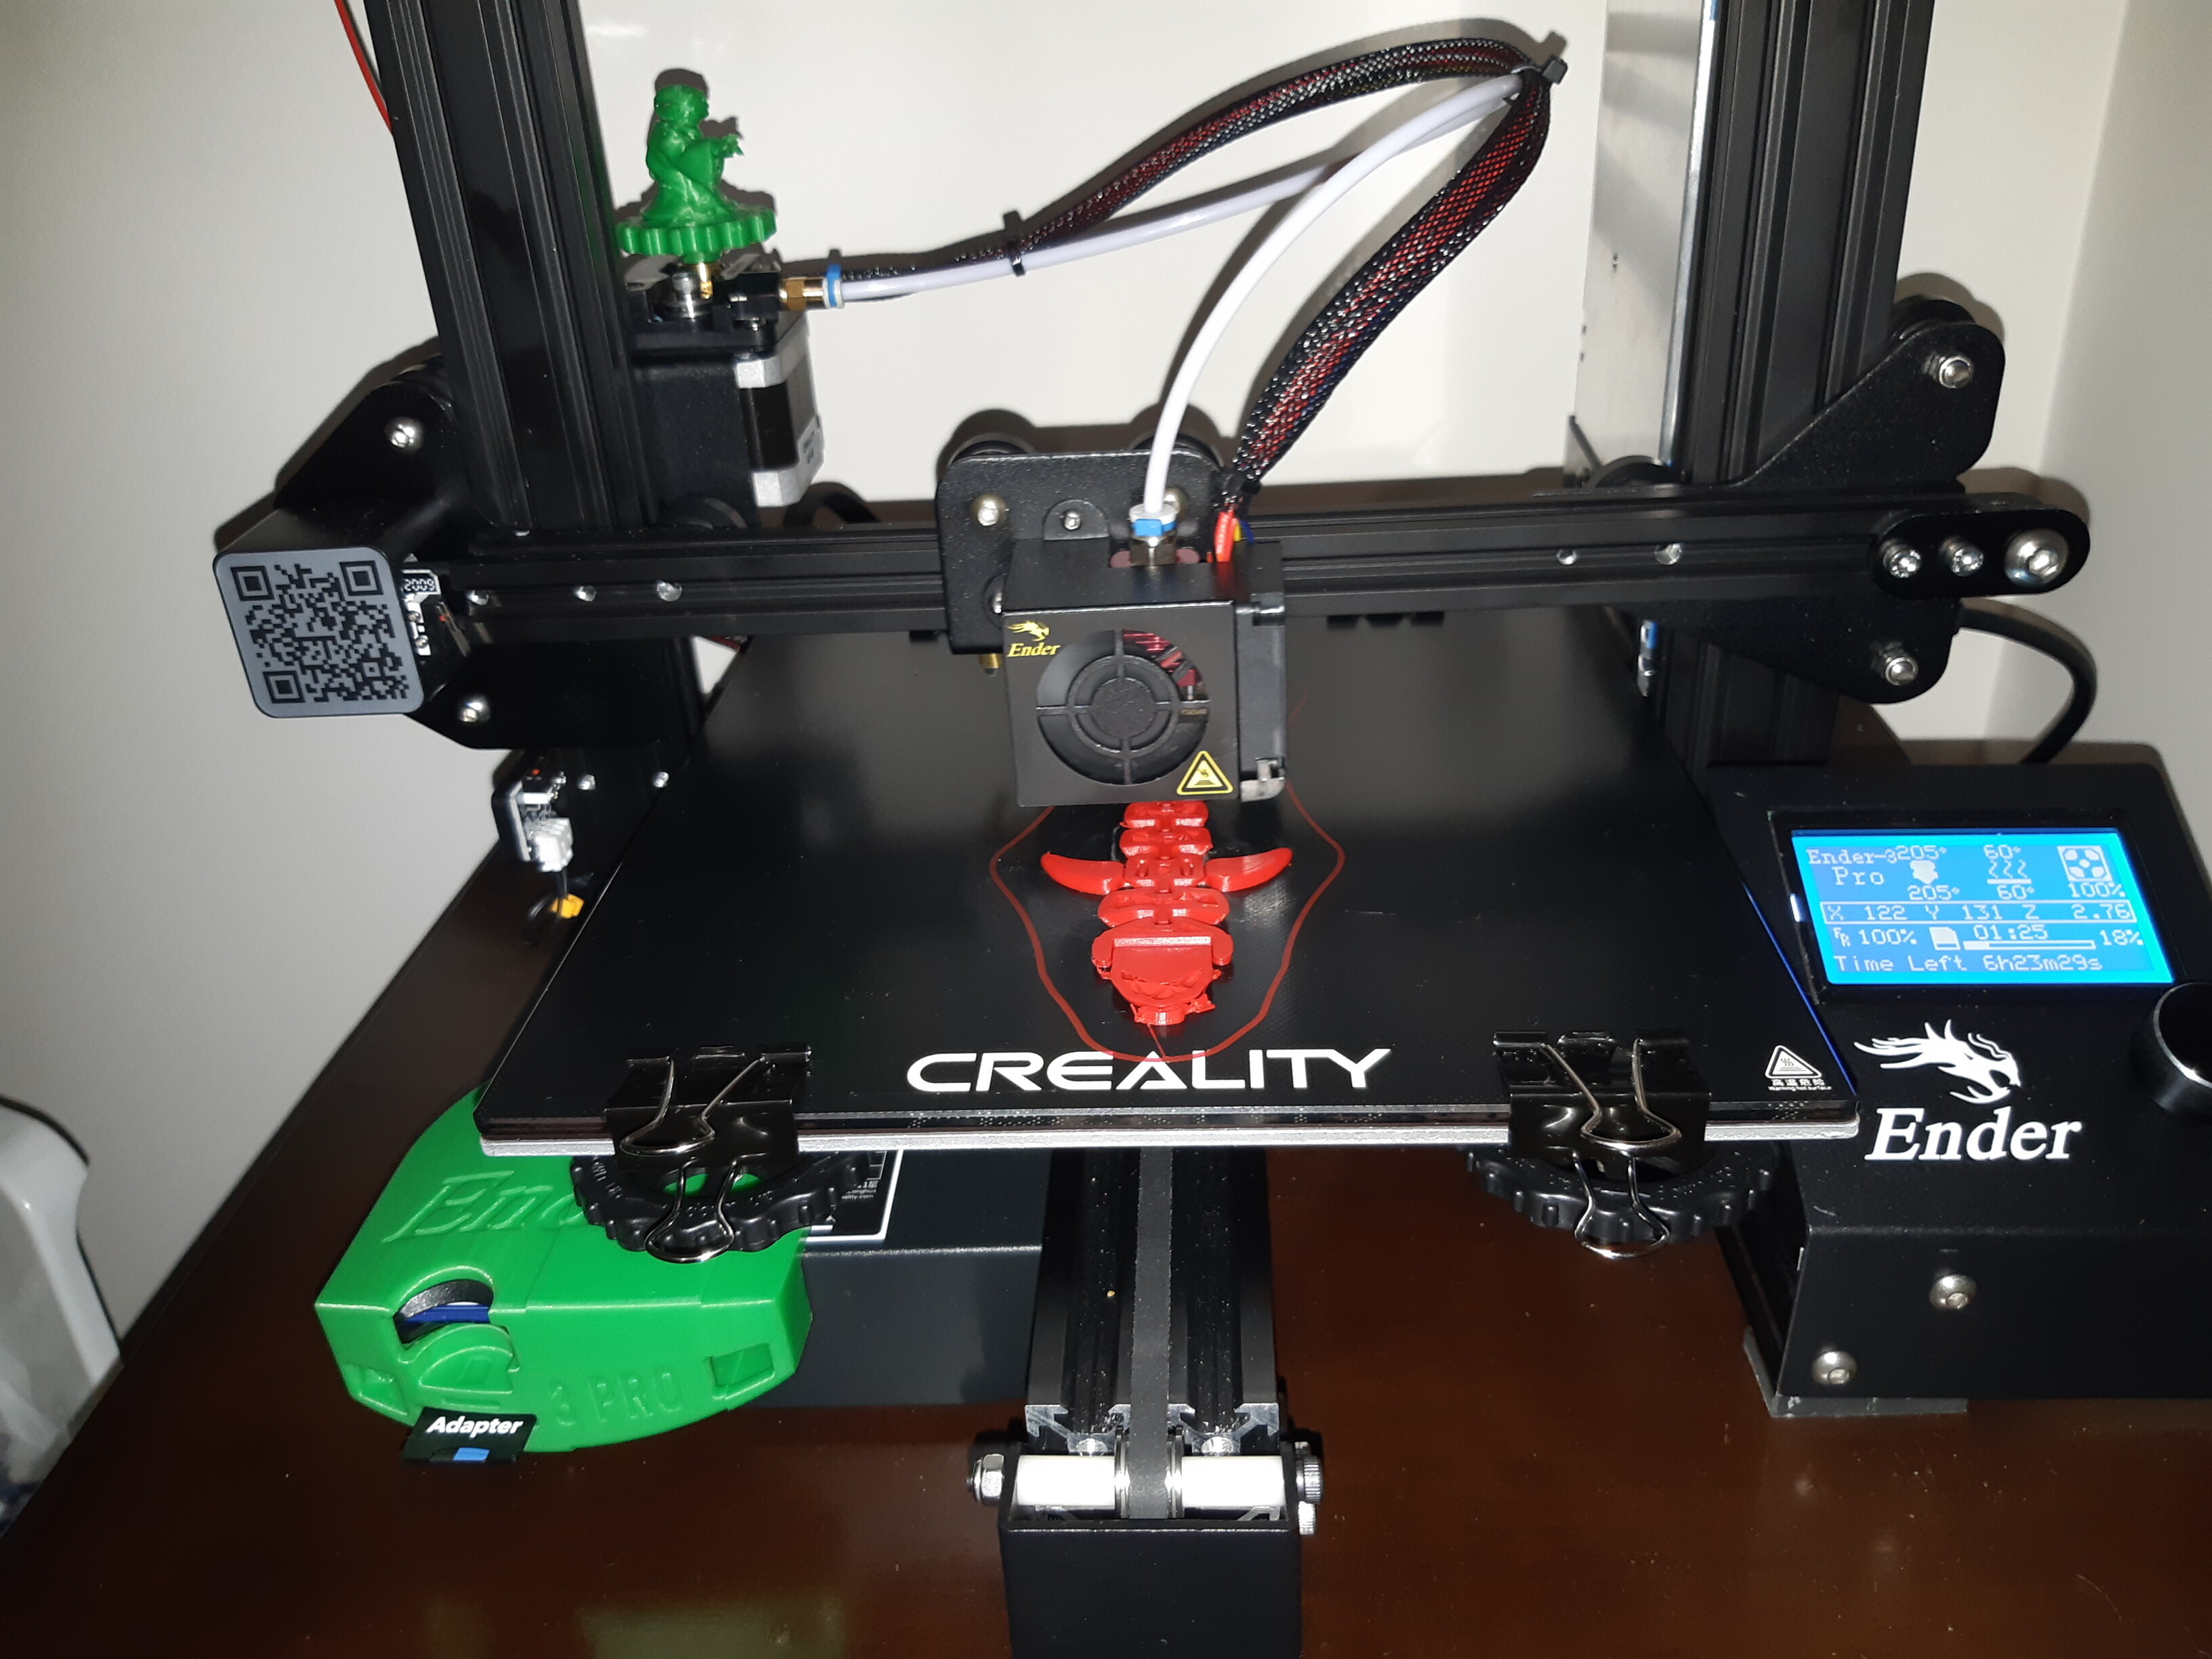
I installed a Creality Glass bed to my Ender 3 Pro, and now it seems to create layer offset due to the weight of the glass.
The axis belts are all tight and this was not an issue at all on the magnetic bed.
Has anyone had this issue and been able to find some good acceleration or jerk settings for use with the Ender 3 in its settings, or in the Cura slicer settings


I do not think this has to do with the weight. I think it is more likely a print adhesion problem.
Anytime you change the bed surface you need to completely relevel the print bed. Go through the bed leveling procedure from the beginning.
Layer shifts are often caused by the print failing to adhere properly to the print bed. If the print moves around a little on the print bed the layers will shift. Try using a bed adhesive on the glass such as MagiGoo. I never print on glass without it. Alternatively, you can put masking tape on top of the glass but I find that a nuisance. I have tried a regular glue stick and it did not work well for me.
Some had told me the axis looks loose but the y axis came pre installed and is very tight. I lowered jerk setting to 15
I don’t think adhesion is the issue, the print and skirt were in the same position so don’t think it moved.
But I have noticed small prints peeling off after a layer or two.
I thought the glass was meant to be better, i didnt mind the magnetic bed and didnt really have any issues with it, no adhesion issues and I could pop prints off straight away.
You may have to try a raft. It is hard to tell from your pictures what is happening, If your first layers are good and it is shifting higher, then try a bed adhesive and check your bed temp. Could you send pictures of it on the printer?
The print is functional. Still holds the sd slot as required.
I did have success using rafts Eariler. I may use it more often.
I’m finding it a learning process to adjust and tweak many settings based on the object and it’s geometry


Glad that it worked for you. I think the object is very high compared to the footprint on the build plate, a raft would help on this. You may also run into the nozzle actually hitting the print as the layers go up. You can look at Z-hop if needed
Had plenty of adhesion with glue on the bed this time.
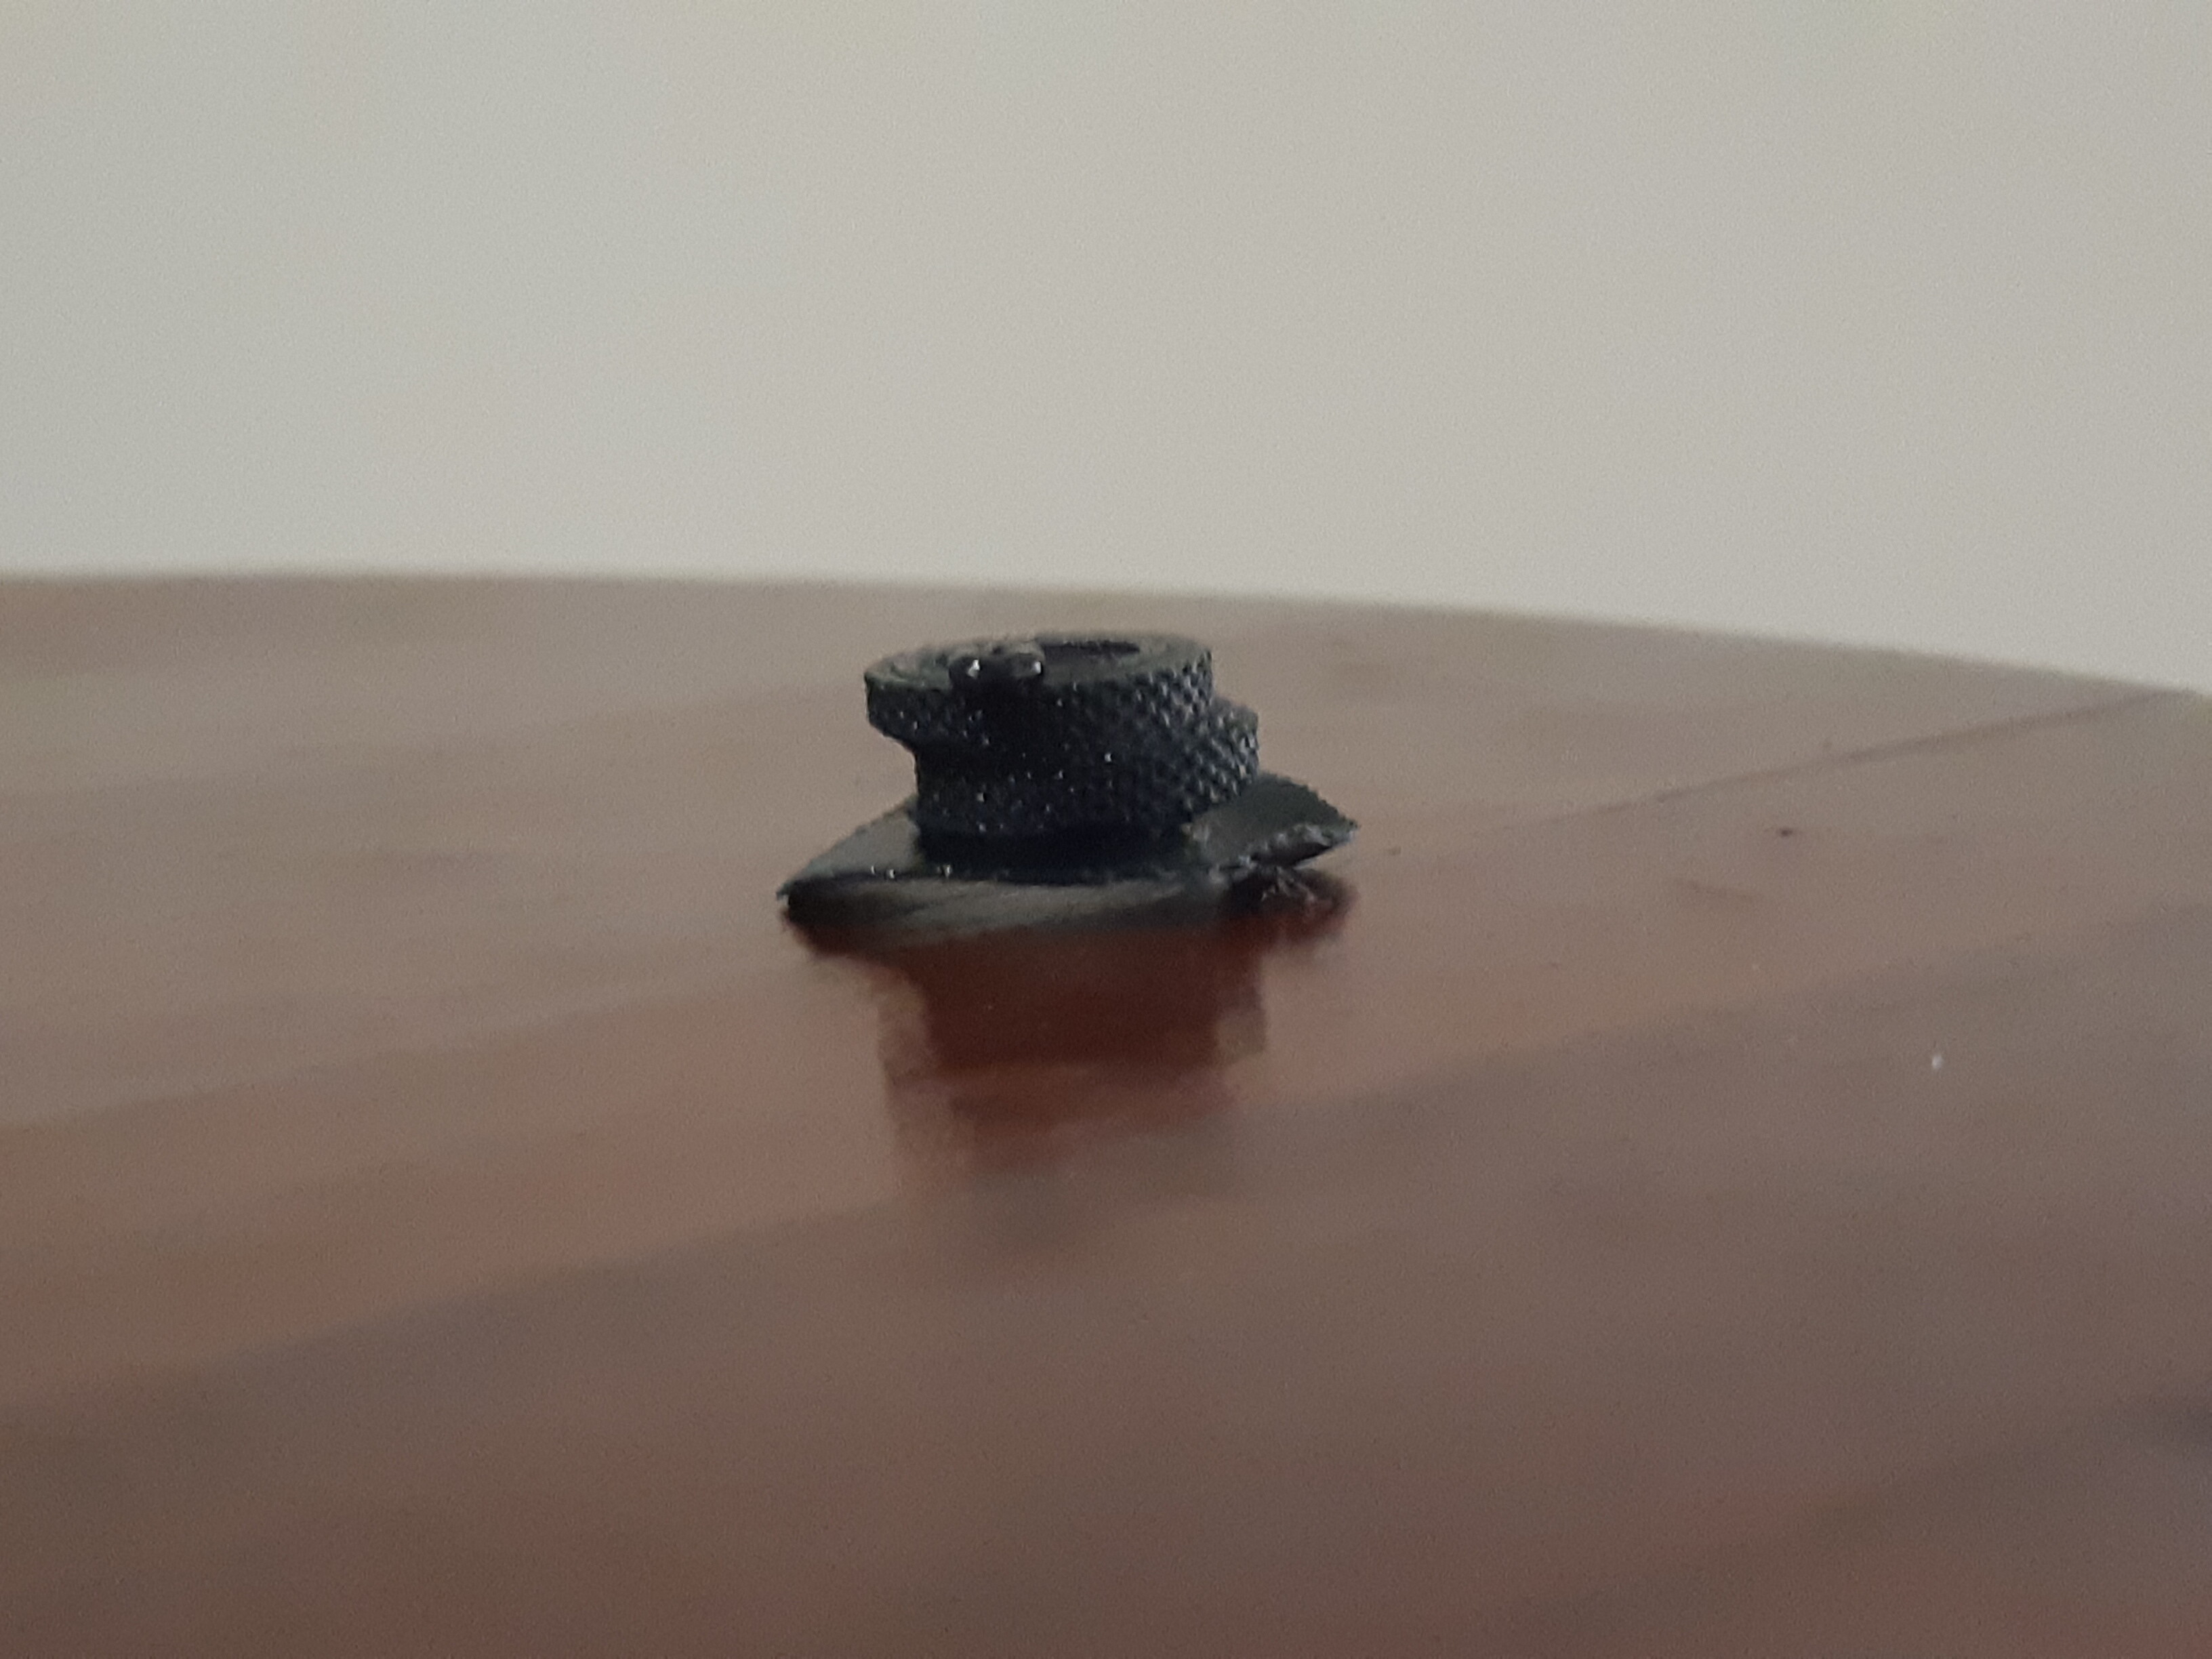
The layer offset is in the y axis, it happens on this small screw print in the base of the screw, the machine is vibrating, the extruder seems to shake left and right and the entire machine wobble in all directions. The print is a circle with rough texture, so the motion makes sense for the geometry.
The coffee table it is on feels the vibrations quite a bit, and that sits on carpet on concrete.
See pictures and video
[URL=“http://maximo.net.au/3D/failed/1.jpg”][video]http://maximo.net.au/3D/failed/video1.mp4[/video]
[video]http://maximo.net.au/3D/failed/video2.mp4[/video]


Original 2 attempts used Layer 0.16mm, Temp 190 then 205, Bed 60deg, Print speed 50mm/s, acceleration 500mms, 15mms jerk, retraction 7mm distrance 25mms speed,
I re sliced the file after 2 failed attempts. Made the raft larger, changed Print speed to 40mm, (Jerk reset to 20mm on slicer, but i have manually set and stored it as 15mms on the Printer, not sure if that overrides slicer setting) and Z Hop on for Retraction.
Seems to have printed past the trouble area.
I think the wobbles were from the motion trying to do the circle with rough texture for the screw.

Thanks for the response.
I have learned so many new things since getting my first 3d printer just over a week ago!
I had actually printed that successful one with only 10% infill, it snapped turning it!
Now to re print with the same settings, but 100% infill!
My re print failed with the layers again! Same setting with the one that worked (slower speed etc)
Im almost ready to give up on the Glass bed and go back to the magnetic bed since that didnt have the issue with the extra weight.
Try washing the glass plate with regular dish soap and hot water - then dry with a paper towel. As silly as this sounds print two at the same time. They will have extra time to cool between layers
Re printed with Jerk setting lowered to 8, it worked this time.
[ATTACH=JSON]{“data-align”:“none”,“data-size”:“small”,“data-attachmentid”:393}[/ATTACH]

I do not seem to have the layer issue when printing small objects
[ATTACH=JSON]{“data-align”:“none”,“data-size”:“small”,“title”:“7.jpg”,“data-attachmentid”:390}[/ATTACH][ATTACH=JSON]{“data-align”:“none”,“data-size”:“small”,“title”:“6.jpg”,“data-attachmentid”:391}[/ATTACH]


You are finding out that 3D printing is a combination of art, science and experience. The more you practice the more you will learn and get better. I know I have learned a lot over the past year and a half. There are so many great you-tube channels, Dr. Vax is at the top of my list.
Thanks for the thread! DrVAX recommends turning off the jerk control in Cura in his setup notes and video for the Monoprice MP10. Interesting!
Cheers
Do you have Z-hop on? The only thing I can think of is the nozzle may have hit the print.
Yes z hop on retraction is turned on. Using cura slicer
When I first installed my glass surface to print on I thought what a waste of time, Im worse off, etc etc etc, but now I look back and say I would never go back to magnetic surface and also due to the fact I print nylon etc I really cant go to anything other than glass for safety reasons. The initial problem you will need to sort is the Z-Offset, there is a Large X you can print, start by levelling your bed manually the best you can using a post it note for clearance, go around the bed several times to ensure it is totally level same drag on the paper at each corner, then using your BLTouch or similar perform a bed levelling, then print the X (NO GLUE, NO SPRAYS, JUST SUPER CLEAN GLASS NO FINGERPRINTS) print the X and check the print, it should lift off without stranding apart, make Z-Offset changes of 0.05mm until you get to a point where the print is being deformed and causes a ripple on the surface then that is the point where your glass bed is 0.05 too close, move it back one position and your now set, save the offset to eeprom M500 and you are set with that filament, this may change with each filament type however that being said it will barely be off by 0.05. Once you get the height just right it will be squished onto the glass and you will not need glue, rafts, etc. This will also be dependant on your filament type, lets say you use PLA+ you may find that you get better adhesion at 45c rather than 20c room temperature. I print PLA+ at 205c and bed at 45c and I use no glues or rafts, if I print TPU I print 215c and 70c bed and a brim.
Good comments. I agree that with PLA clean glass will work well. I found that I have to use glue stick for TPU so that I can get it off, it sticks too well. I’m working with PETG and am using glue again until I can get it dialed in - so far 230 nozzle and 80 bed working well with the glues stick. The cool thing about 3D printing is experimenting to get the correct output by changing the inputs.
If you can’t except that - then you may have the wrong hobby
In the 1st video, do I see the bed support spring actually compressing and relaxing during the same layer? That can’t be right, can it?