Had my CR10 v2 for a week now and by increasing Retraction Distance to 8mm and decreasing Retraction Speed to 30mm/s I have produced some (IMHO) excellent results.
However, I can only get the prints to stick on the bed plate by using a Raft. Both the Skirt and Brim do not work. I have also been using Magigoo to help the process.
I wondered what else I could do to make the prints stick. Although the Raft is good, it does cost extra time and of course filament.
Any advice gratefully received.
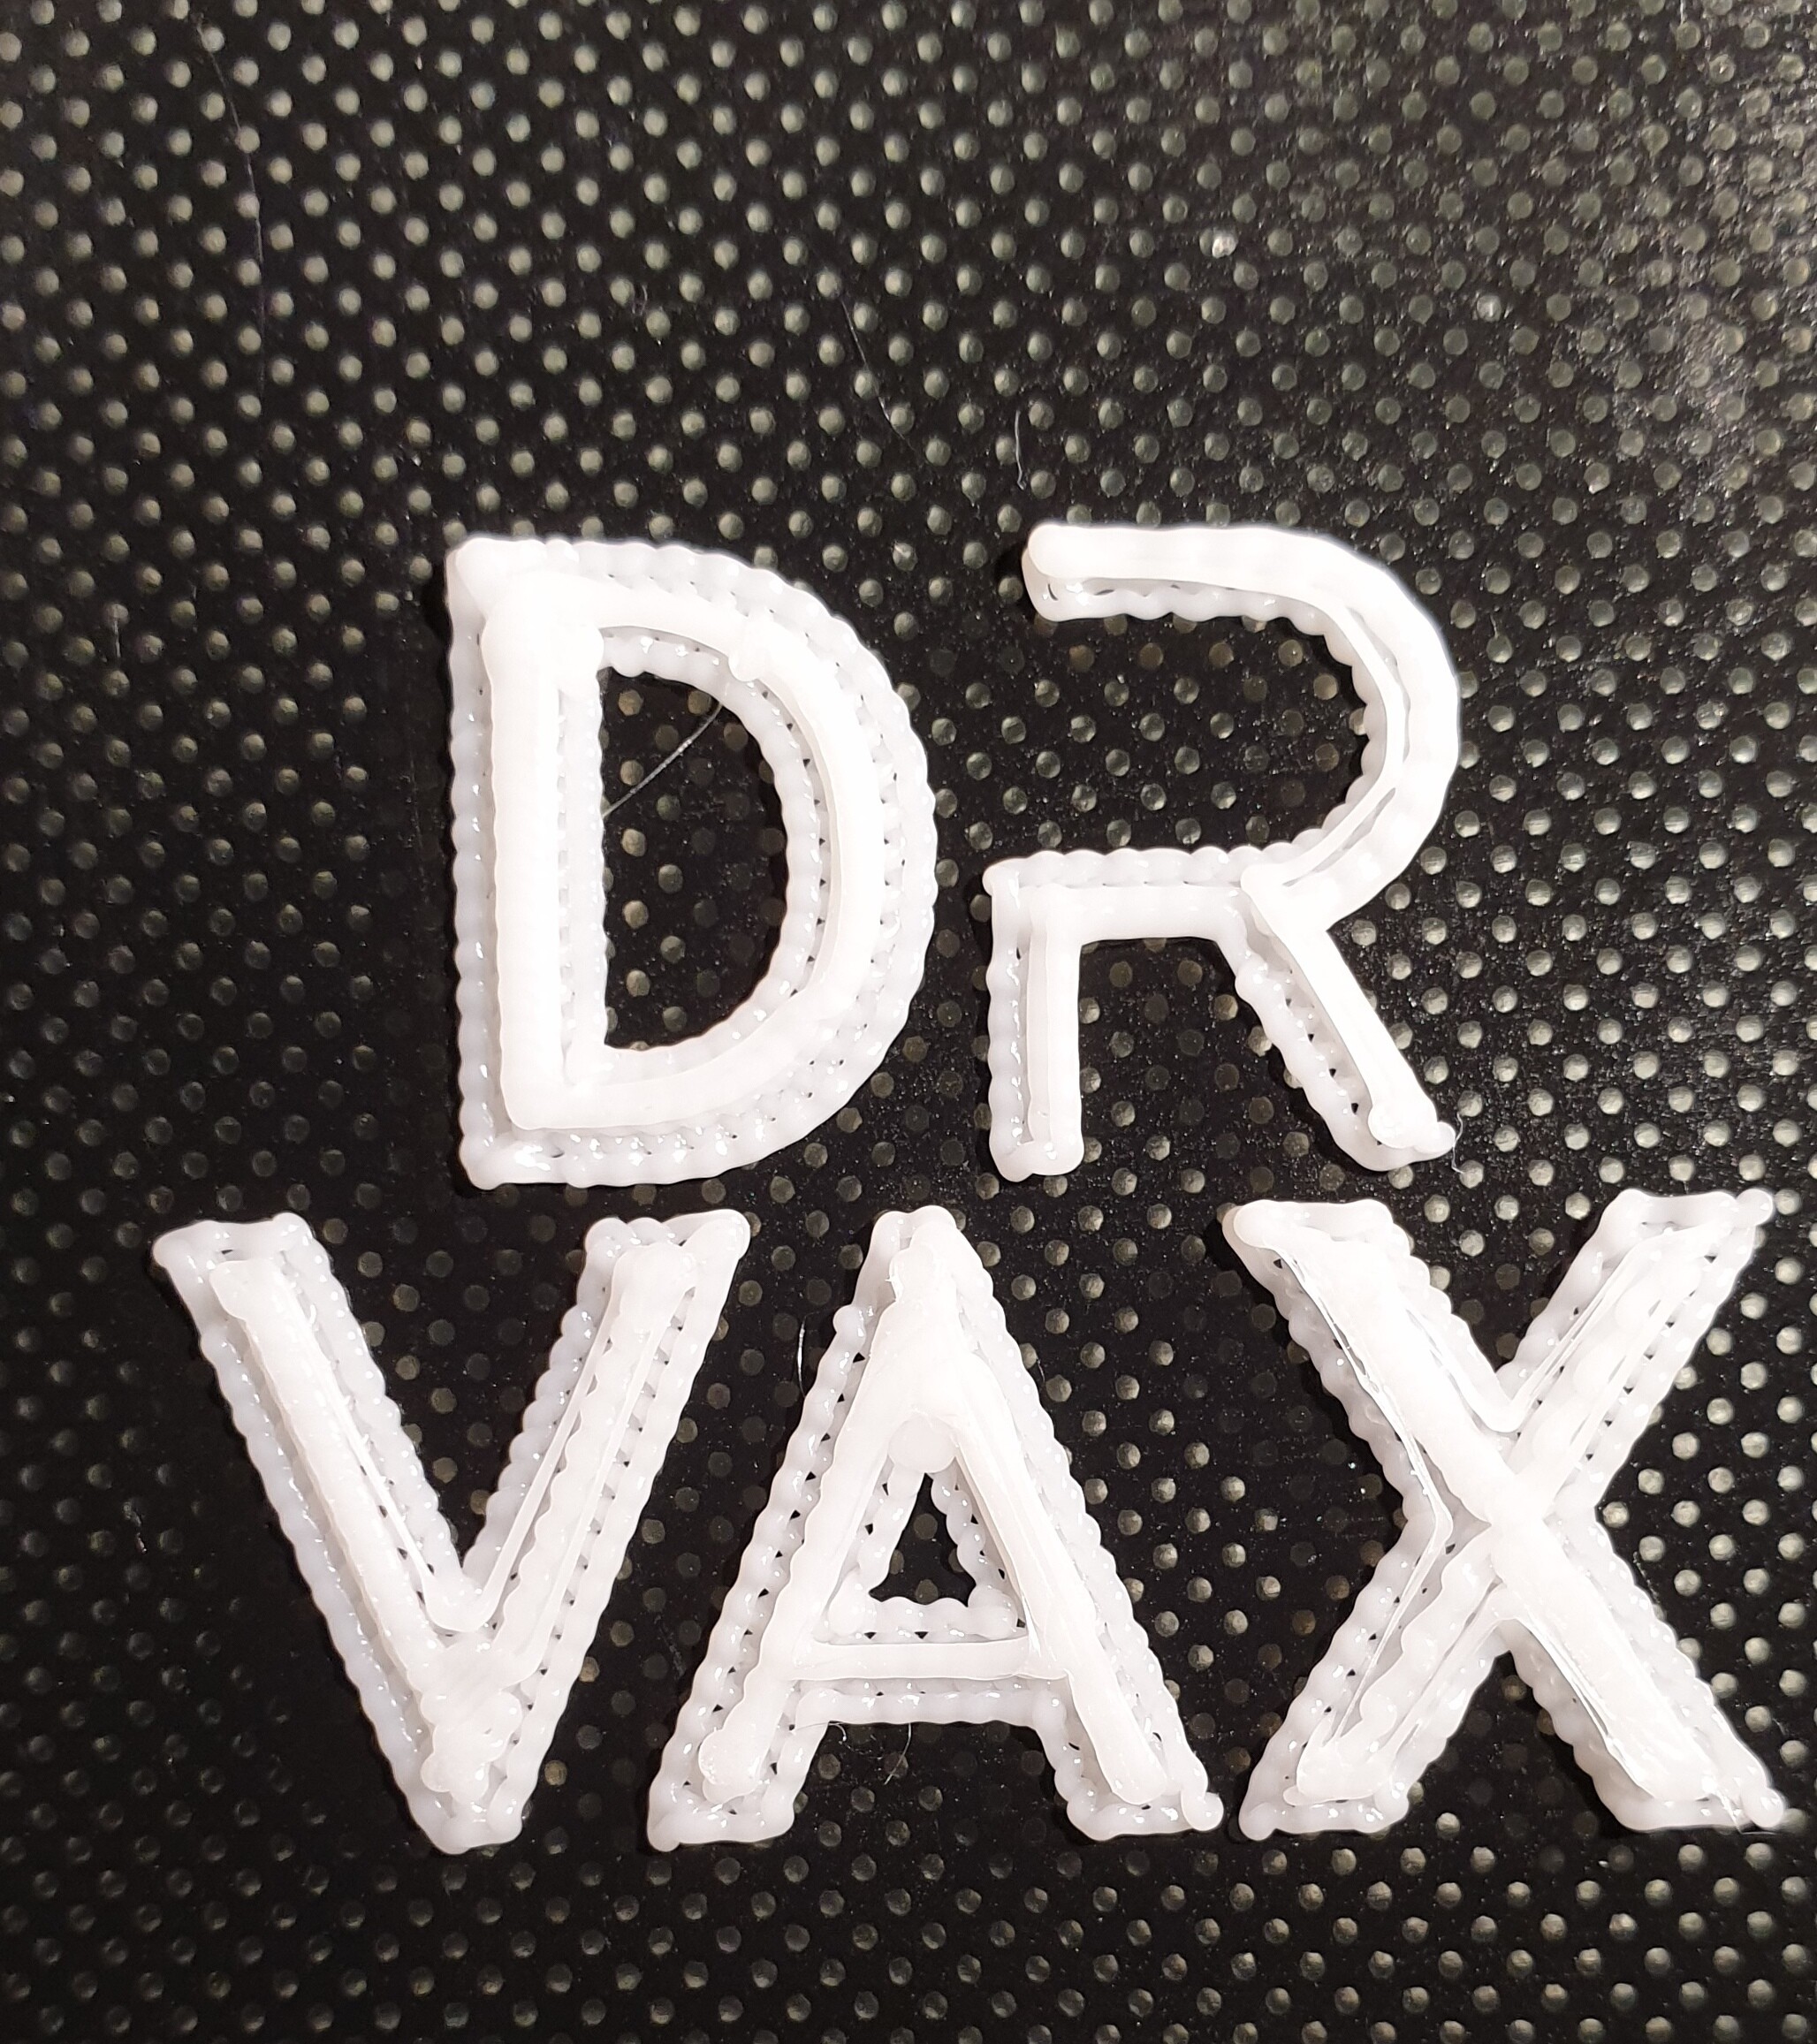
Lastly a BIG thank you to Irv “DrVax” Shapiro for your excellent tutoring videos - they have provided me with some degree of patience in this new hobby. ?
My guess is that your print head (nozzle) is too far from the print surface. If you are using ABL adjust your Z offset. If not try releveling your bed and adjusting so that when you try and move a piece of paper under the nozzle you have clear resistance.
Also increase your first layer height. and first layer extrusion width
I think you need to be closer to the bed. Can you adjust the Z-offset?
My z axis switch stops me adjusting the z axis lower and the bed is at maximum height.
Tomorrow I will get my ABL upgrade. Once that’s fitted hopefully I can readjust the z axis - especially as the z axis switch will be removed.
Will provide further feed back than.
In meantime thanks your help ?
I agree with @woodwaker_dave@yahoo.com. I’d lower the Z-offset as a start. Here are before and after pictures.
[ATTACH=JSON]{“alt”:“Click image for larger version Name: Before.png Views: 0 Size: 759.6 KB ID: 354”,“data-align”:“none”,“data-attachmentid”:“354”,“data-size”:“small”}[/ATTACH][ATTACH=JSON]{“alt”:“Click image for larger version Name: After.png Views: 0 Size: 1.29 MB ID: 356”,“data-align”:“none”,“data-attachmentid”:“356”,“data-size”:“small”}[/ATTACH]


Have now installed and set up my new BLTouch. The result has improved greatly - see pics.
The left hand side of the bed still looks as if it needs some further adjustment but overall I am very pleased with the result.
Getting there ?


Now adjust your Z-offset
My Ender 5 Pro’s Z Offset is currently 0. What affect would increasing it have?
Probably want to make it negative. That will make the nozzle closer to the bed and provide more “squish”, On the first layer you balance where the filament goes on the bed - too high and it won’t stick, too low and not enough can be extruded. If anything you tend towards just a little too low so you get an oval. Most slicers support an extra thick first layer and even extra extrusion amount.
I use .35 first layer .2 after the first layer for height, and 200% extrusion for the first layer.
Thanks woodwaker_dave (BTW, woodworker is spelled w-o-r-k-e-r ??)
Yeah, my 1st layer is .35 as well, and the nozzle is @200C for PLA; 180 after that. I’ve noticed that most models seem to cause the 1st layer to be printed at least twice; the 2nd time making the skirt line higher, but also somewhat flatter. The adhesion, at least to the default Creality magnetic mat, seems pretty good (I usually have to use the scraper to life a corner so I can ease the rest of the model off).
Adjusted Z offset and pics show final results. Also added some more Flow with Tuning during the print. Increased 1st layer to 0.35mm and infill density to 30%.
Interested in the line drawn - looks like embroidery!!


I’d try moving the nozzle closer (I did about 10 small distance reductions before finding one that I am happy with because I was concerned about hitting the bed!). The oscillating pattern suggests that the filament has time to cool a bit and twist before hitting the bed. I saw it on my printer when the nozzle was too far away, and there was a slight curve in the extruding filament between the nozzle and the bed surface. The filament also did not adhere to the bed sometimes, resulting in stringing similar to that your second pictured. Hopefully the picture below from my manual will help.
Good luck!

Thanks your very useful pictures. Not sure what else I can do. Used a Post-it-Note for the nozzle height, adjusting by 0.01mm at a time until it tugged.
Will have another go. Thanks