Well, I’ve now tried the stringing towers with PETG:
[ATTACH=JSON]{“data-align”:“none”,“data-size”:“medium”,“data-attachmentid”:875}[/ATTACH]
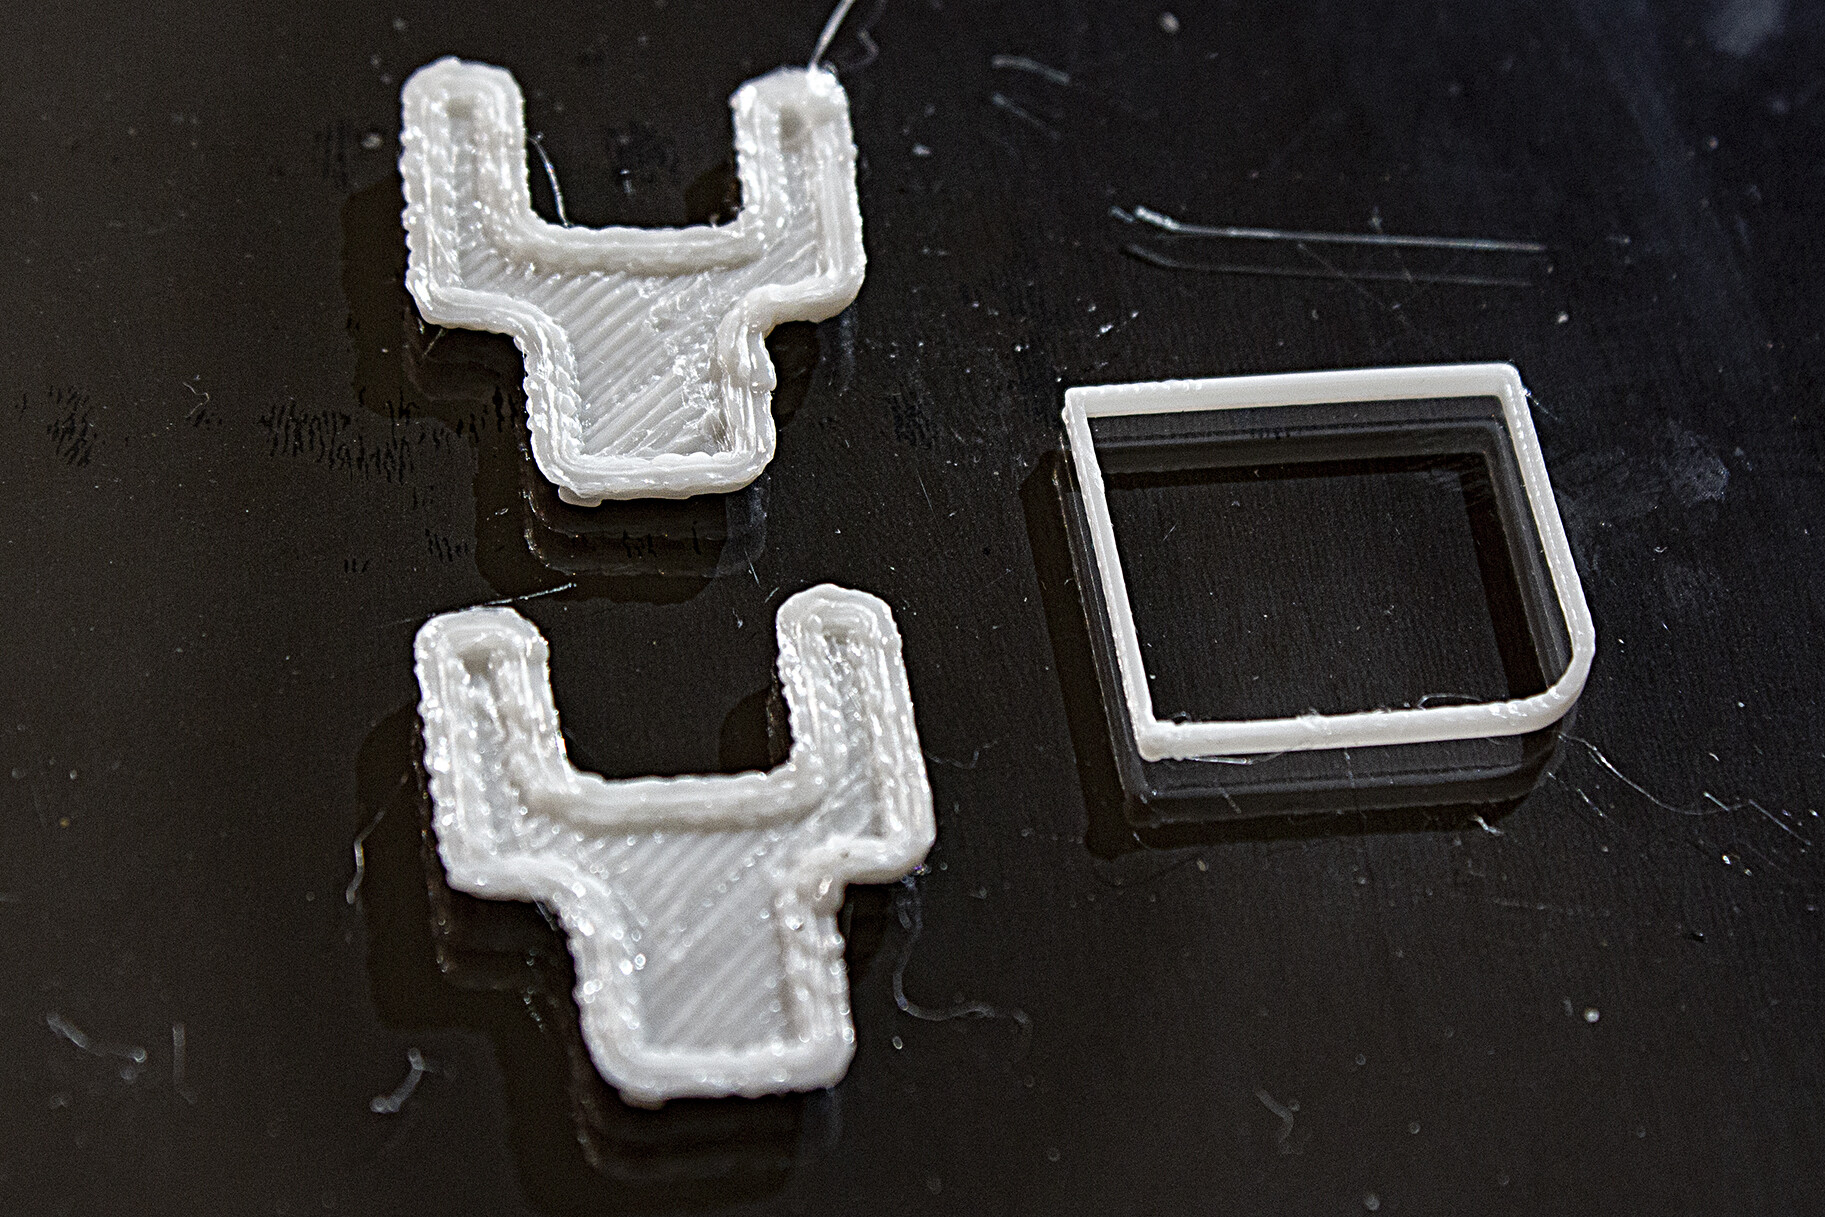
Now, before you all go, “Hey, there’s a little fuzz on the right-hand tower!”, here’s a photo of my 1st attempt:
[ATTACH=JSON]{“data-align”:“none”,“data-size”:“medium”,“data-attachmentid”:876}[/ATTACH]
Call me crazy, but I’m thinking the top one looks pretty good… ?
OK, like the rest of life, it’s 2 steps forward, 1 back. Today I ran into a problem wherein my hotend came loose from its mounting plate. My fault: the spacer I made to compensate for the direct drive plate I made is thick enough that it forces me to not use the lock washers on the machine screws that mount the hotend. So, removed the spacer and got the hotend firmly attached, at least until my new M3, M4, M5 machine screw kit arrives from Amazon, at which point I should have some M3x20 screws to replace the stock M3x16s. I also noticed that the eccentric nut for the mounting plate need a little tightening, as the mounting plate had just a little play in it.
I thought all these things explained the weird printing issues I was getting. That is, the edges of the prints were very ragged and uneven.
Things have gotten better, but I still have a weird issue. It seems, as the print progresses, the Z axis doesn’t drop far enough for each layer. The first 2mm to 6mm seem OK but, progressively, it appears the nozzle is digging into the filament further & further. Of course, I realize it’s not the filament digging in, but rather the bed not dropping far enough each layer, or at least that’s how it appears to me.
I’m looking for help diagnosing this. Here’s the most recent attempt, which I aborted part way through (I just can’t stand the noise of the nozzle banging into hardened filament). Any idea anyone?
Good morning all that have been following my try with this 3D printing. I decided to print a imposible ball this morning in a different color filement to see how it will turn out and now trying printing on picture glass as well that I pick up yesturday and see how it turns out. so far it is great did not have to mess with any kind of glue stick or anything
That’s been my experience too. Seems contradictory, glass being good for adhesion. You’d think it would be too smooth & slippery, but there you have it. As a bonus, you get really smooth print surfaces where it touches the glass.
Is it possible my filament is at fault. It's gotten quite warm and humid here the past few days. Could the filament be too damp?

What about the extruder gear. Maybe I have the tension too low?

Obviously, this kind of quality is unusable. Any hints would be very welcome.
Do you have issues with a different filament?
it may have too much moisture in it? I’m still new but heard that can cause lumps and a popping nozzle when printing.
If so put your filament in the oven at 50-60c for a few hours
Were you over extruding before you calibrated? That print looks like the filament is not adhering to the bed, so maybe move the nozzle a bit closer!? Perhaps, something moved or the Z-offset setting was just on the “good side” of borderline (enough plastic flow+bed ‘stickiness’) before and with less plastic it is now just over onto the “bad side.”
well I take a couple of steps forward then 10 backwards, nothing seems to be sticking to the glass nor the magnatic bed that came with it and no which color that I try the same the prime line looks great but as soon as it moves over to the item it will not stick to either type of bed, getting very upset with the whole thing. I want to be able to print small items and big items with no problem
I had the same issue originally. I used glue which helped. I re levelled my bed and have the nozzle just a post it note distance away.
but now I use no glue on my glass, the first part after the prime line can sometimes flick off, so I’m mostly using a raft which works great, bed temp 60c, 25mms print speed on initial 2 layers. Once it gets past the first layer it’s perfect.
So, major adventures, and misadventures, yesterday. [LIST=1]
I ordered, from Amazon, some 1 meter replacement cables to connect the relocated extruder stepper to the mobo. They're still a little shorter than I would like. It's beginning to look like I will have to make my own cables, which I will have to order a JST XH connector kit, and a crimper. Yippee!
.
In the process of connecting the new cable (see item 1), I also rewired the fan that's mounted to the bottom plate of the PSU case. I had a brain fart moment & wired up the power from the PSU to the mobo in the wrong order (I reversed the hot (red) and return (black) leads). Fortunately, before I turned the printer on, I had a moment of misgiving about my wiring, so I kept my finger right beside the power switch. I powered it on, and oops, suddenly I saw a little bit of the magic smoke escape the mobo. I immediately switched off. I reversed the power & return wires and powered up again. Believe it or not, it powered up! I was flabbergasted. I figured a new mobo was in my immediate future. I went on to check all the functions, and they all seem to be working. I even printed a few test objects. Whew!
.
I tried some blue painters' tape a day or 2 ago, and it seemed to help. So, yesterday, I put down a full bed of the tape. It seemed to work very well, so well, in fact, I decided to cut a new piece of glass that fits the bed more accurately, and put down a really smooth, well-joined layer of tape.
[ATTACH=JSON]{“data-align”:“none”,“data-size”:“medium”,“data-attachmentid”:1097}[/ATTACH][IMG2=JSON]{“data-align”:“none”,“data-size”:“full”,“src”:“https://forum.drvax.com/core/image/gif;base64,R0lGODlhAQABAPABAP///wAAACH5BAEKAAAALAAAAAABAAEAAAICRAEAOw==”}[/IMG2]
I even sanded the edges of the glass, and rounded the corners. I found some corner pieces to anchor the glass to the bed on Thingiverse, which I think I will print in PETG. I used the “overlap, slice, and refit” technique used by carpet installers to make invisible seams.
.
Of course, the new cables I bought did not have the correct pinout. I pretty much expected this. They weren't advertised as Creality compatible, or cables for Ender printers. I determined the pinout from the original cable, then extracted & moved some of the pins on the 6-pin end so the pinout matched the original. They I took a couple of photos, so I would have a record, in case I have to do it again, like if/when I decide to lengthen it, and perhaps other cables.
[/LIST]
My PETG print bed temp is 80C. That’s OK for now. I have a spool of ABS but haven’t dared try it yet because of the danger from the fumes. Similarly, I have a spool of nylon but of course I will need a new hotend before I can even think of trying it.
Yes, it seems to be good. Re-calibrating from the start was, I think, the right move. The biggest ‘right move’ is the painters’ tape on the bed. It works way better than I thought it would. Checking Home Depot and some other stores it seems getting wide painters’ tape is becoming harder than it was. I found some yellow tape from MG Chemicals on Amazon that it says is made specifically for 3D printing. It’s cheaper so I may give it a try.