This post is about installing Klipper on netbook, as alternative to Raspberry Pi. A netbook has a few advantages over using typical Raspberry Pi. A netbook provides LCD screen and touch pad for KlipperScreen, and desktop OS provides simpler user install path for non Linux users.
Here is a list of steps, with sources used for install:
Do this at own risk. Back up PC to save all important user files.
-
Download Raspbian Desktop PC OS.
Raspberry Pi Desktop for PC and Mac – Raspberry Pi
Raspbian Lite is often used on Raspberry Pi, so it is compatible for installing Klipper system. Also from same site download Imager, it is an application that places iso OS on bootable SD or USB drive. Follow directions found at Raspberry-Pi site.

-
Install Kiauh, a Klipper install helper.
GitHub - th33xitus/kiauh: Klipper Installation And Update Helper
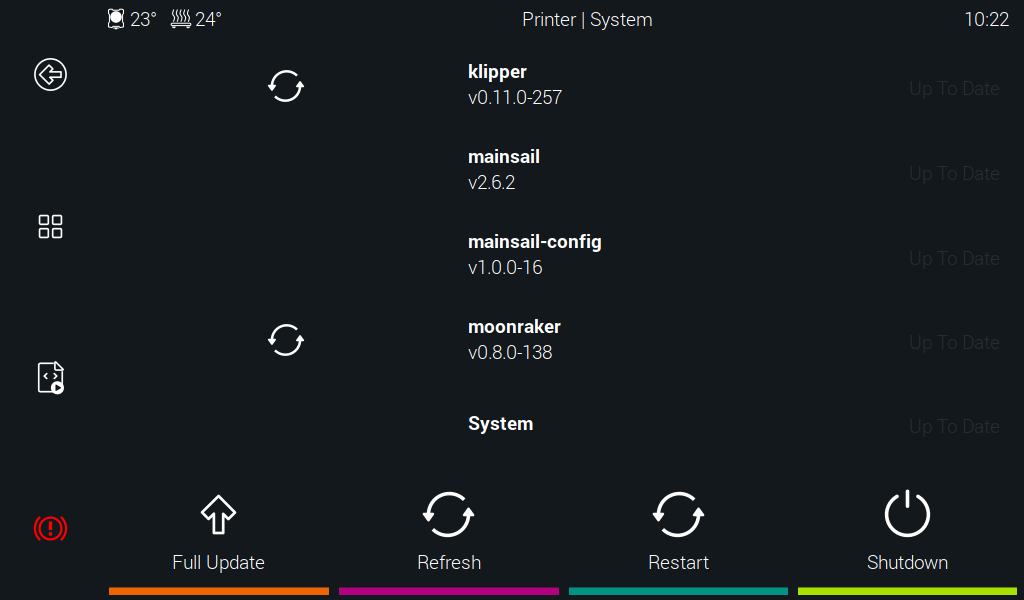
Follow instructions at above site. At top of page is a bunch of project files, ignore those, go down to Installation. There are three important command scripts, copy those and use in terminal window to download, install, and run Kiauh. Kiauh helps with install of Klipper, and other related apps. I installed Klipper, Moonraker, MainSail and KlipperScreen.

Advanced selection was used to make Klipper firmware for my printer control board. My application was for Robin nano V1.2. Research on web was helpful to find bootloader offset, and other special setting to make printer firmware, rename, and load to SD for flashing. This is going to vary with your particular control board. Doing this wrong can brick control board by over writing bootloader. Fixing that may require a programming dongle, finding source for original bootloader, and much more technical apps and skills.
- A USB cable connects notebook to printer. Under Kiauh Advanced selection, read MCU id is used to find communications port name used by printer. That id, must be copied to serial: section of printer.cfg found in folder home>printer_data>configs>.
Sample printer.cfg files are found here:
Example configurations - Klipper documentation
These files are suggested examples, but likely need changes for your printer and modifications such as different extruder, adding bed probe … Incorrect setting may damage printer, or worse.

Installation worked, but a few install failed in download of files do to server timeouts. Retries worked. There are many pieces of software, and hardware to make Klipper work. I am most interested in evaluating Klipper features with development hardware in this post. Unusual Upcycle Pen Plotter
It is up and going, but much more exploring to do …

