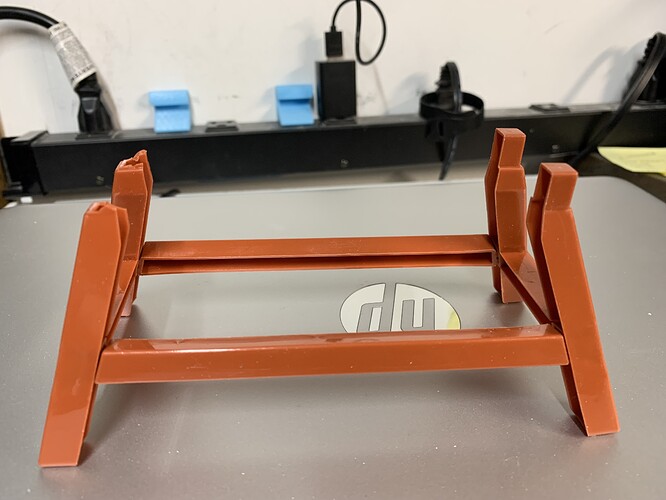
For Christmas we gave the 3 year old great granddaughter a kids tool set that included a little workbench which had some threaded holes in it which allowed inserting and removing screws with the electric screw guy.
[ATTACH=JSON]{“data-align”:“none”,“data-size”:“medium”,“data-attachmentid”:14886}[/ATTACH]
All was well until the other day she decided to to take the workbench apart. When she tried to put it back together she broke 2 of the tabs off that held the legs to the table.
[ATTACH=JSON]{“data-align”:“none”,“data-size”:“medium”,“data-attachmentid”:14887}[/ATTACH]
No way to glue the lags back on, well maybe filling it full of epoxy would have worked but not near as rewarding. So I fired up Freecad and started designing. First was just going to make new legs then I discovered that the top was also cracked. With the legs finished I went to work on the top. The hardest part of the top was getting some threads in the holes that would work. Whatever thread it was I’m pretty sure it wasn’t standard. Finally put in M16 standard threads and drilled out the top and bottom so there was only about 2mm of threads left. By driving I didn’t mean with a drill but with slightly larger holes. The final results I think is pretty kid proof but if not I’ll just print a replacement.
[ATTACH=JSON]{“data-align”:“none”,“data-size”:“medium”,“data-attachmentid”:14885}[/ATTACH]
[ATTACH=JSON]{“data-align”:“none”,“data-size”:“medium”,“data-attachmentid”:14884}[/ATTACH]


